Cave 2

Cave 2 and 3, the paired caves, are believed to be from the Eastern Wei period and are the earliest caves at Tianlongshan. They are located on the eastern side of the Tianlongshan caves site and below the upper level caves. Cave 2 is on the right. The caves are distinctive for the many relief carvings on the walls and ceiling, most of which have been removed.
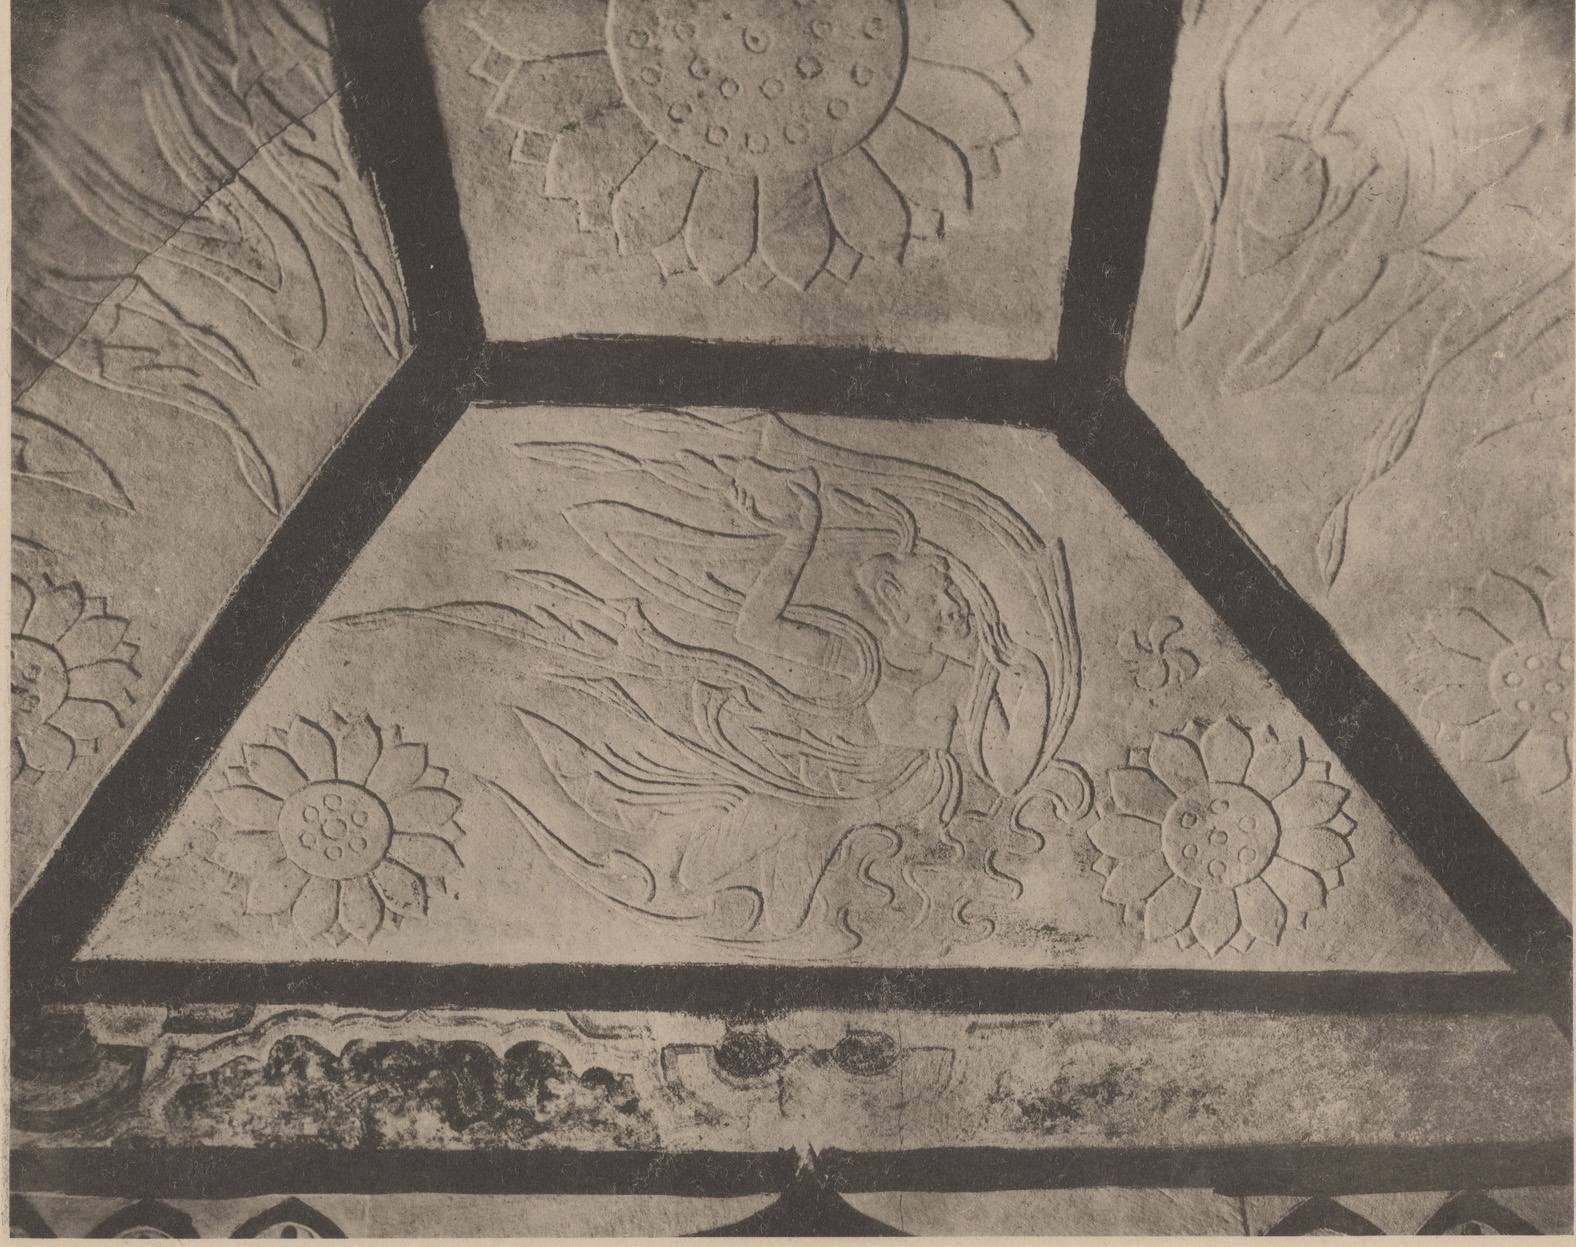
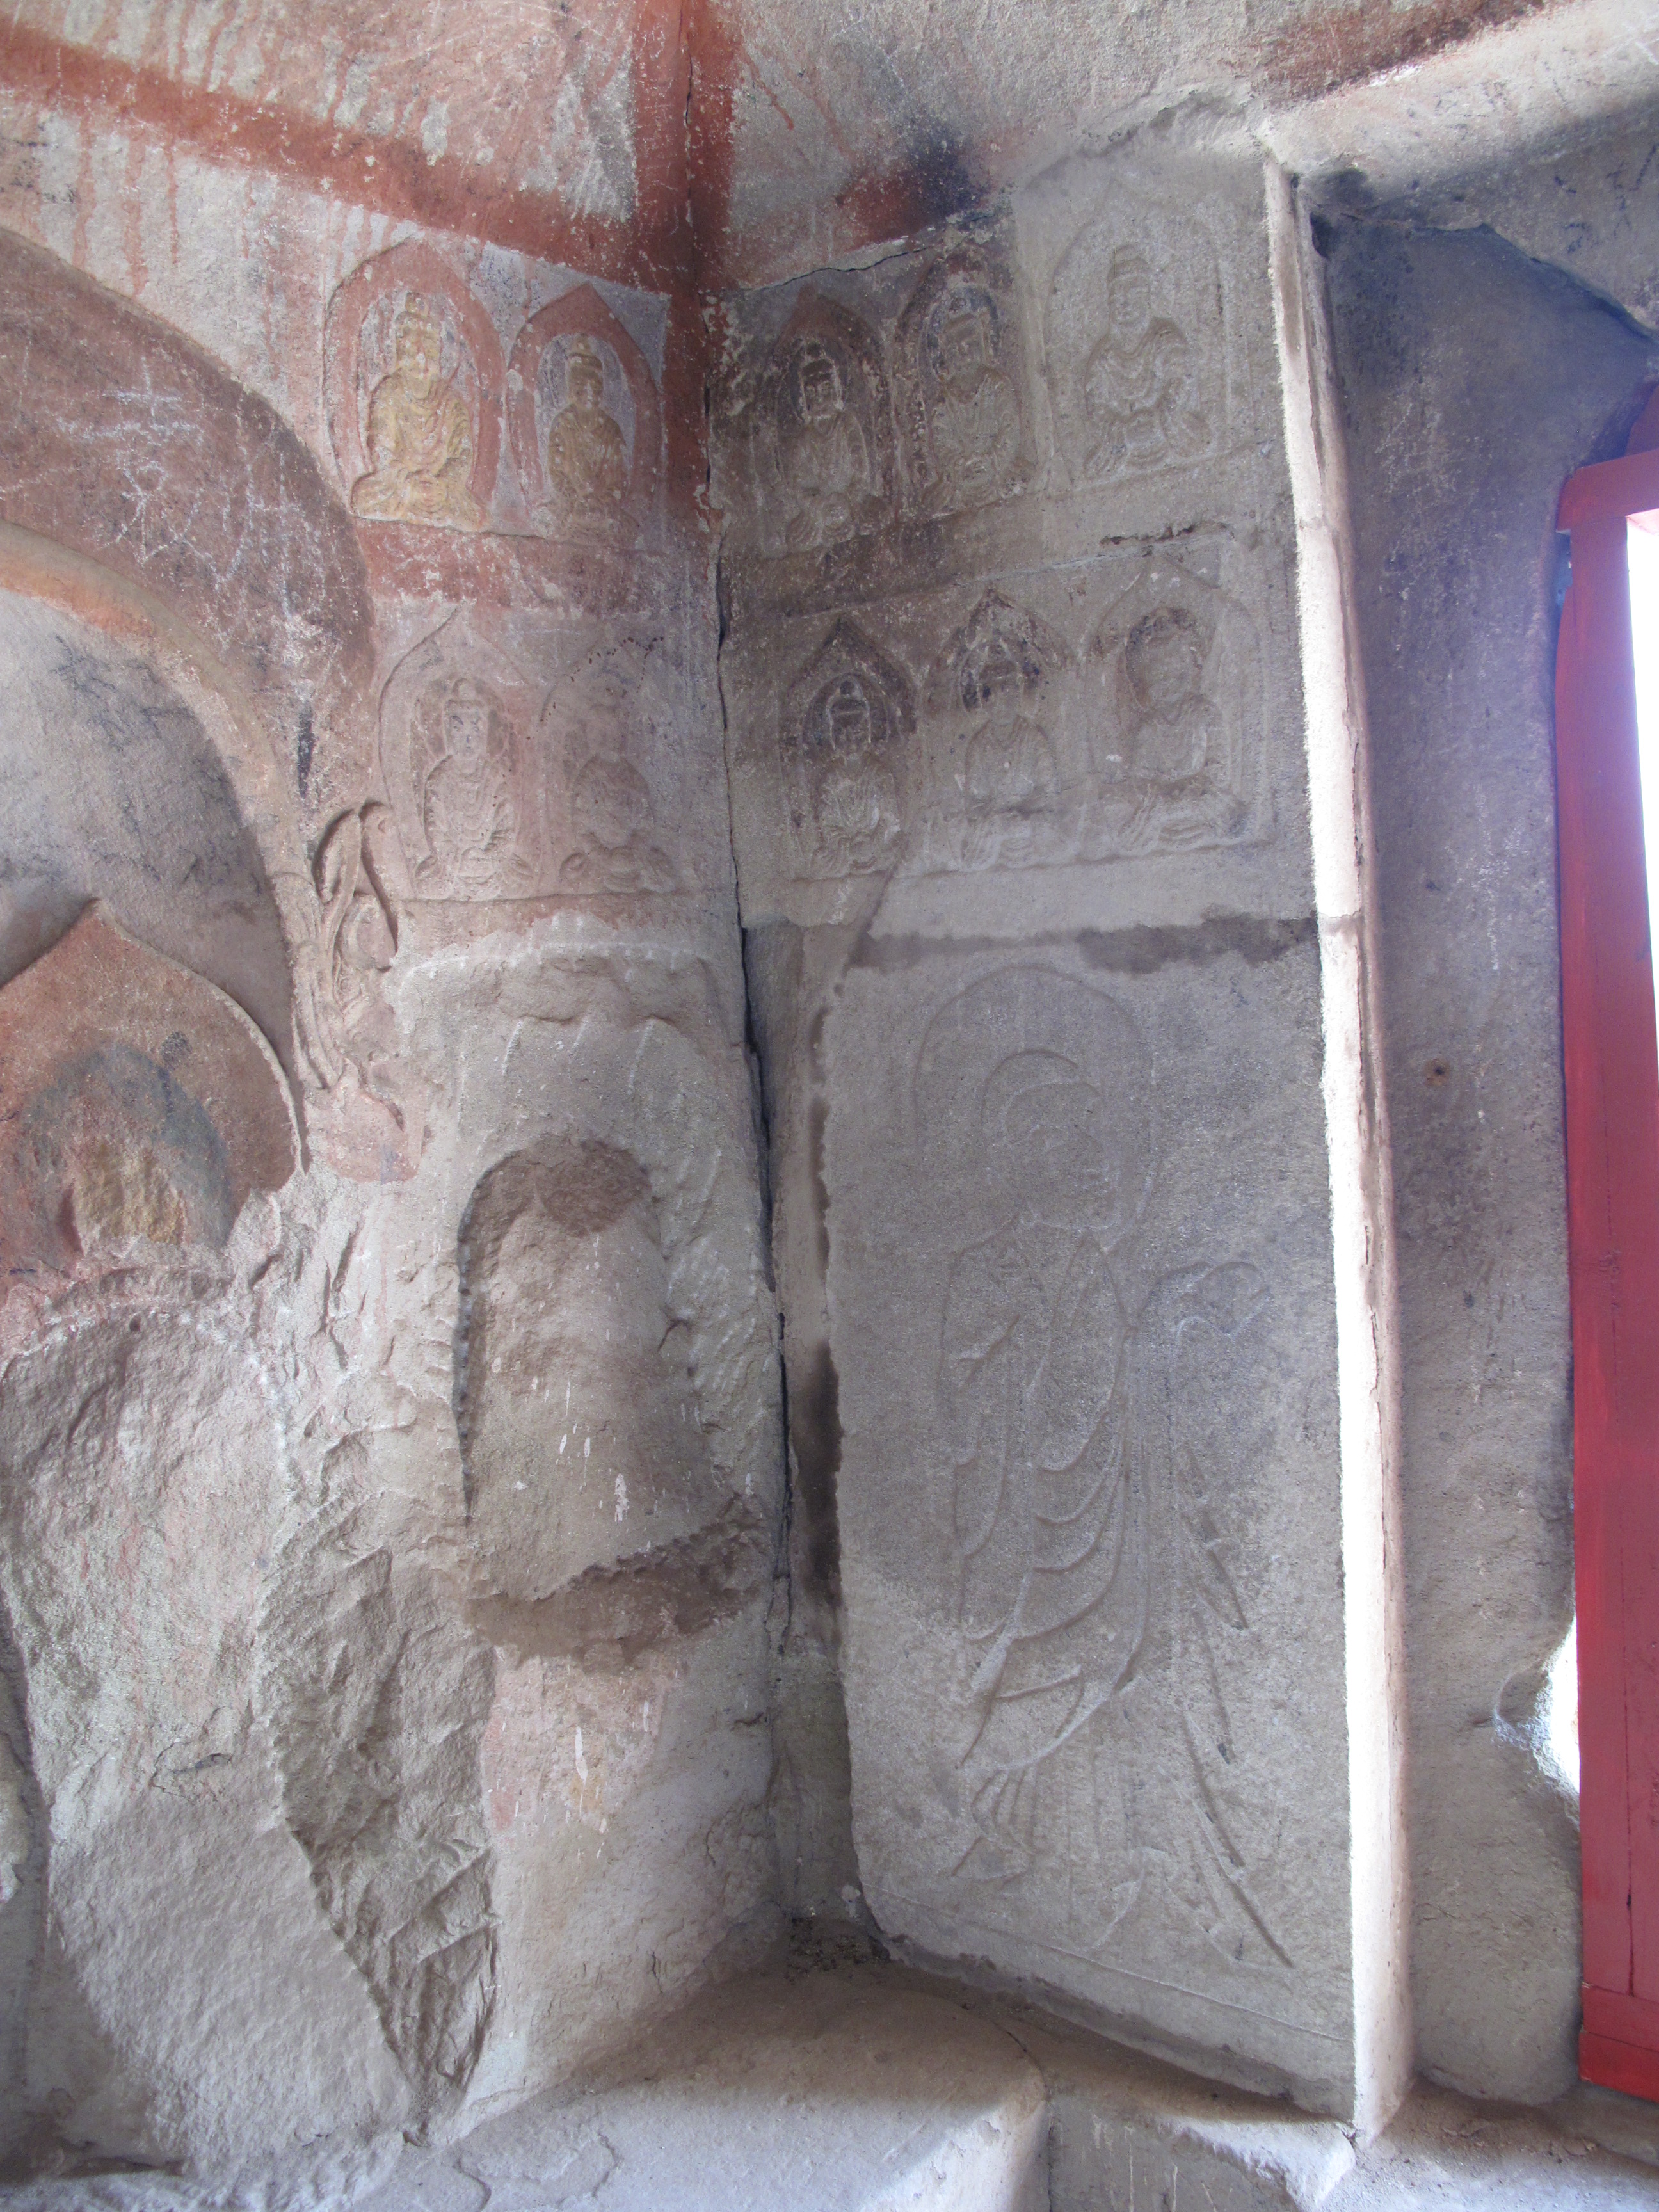
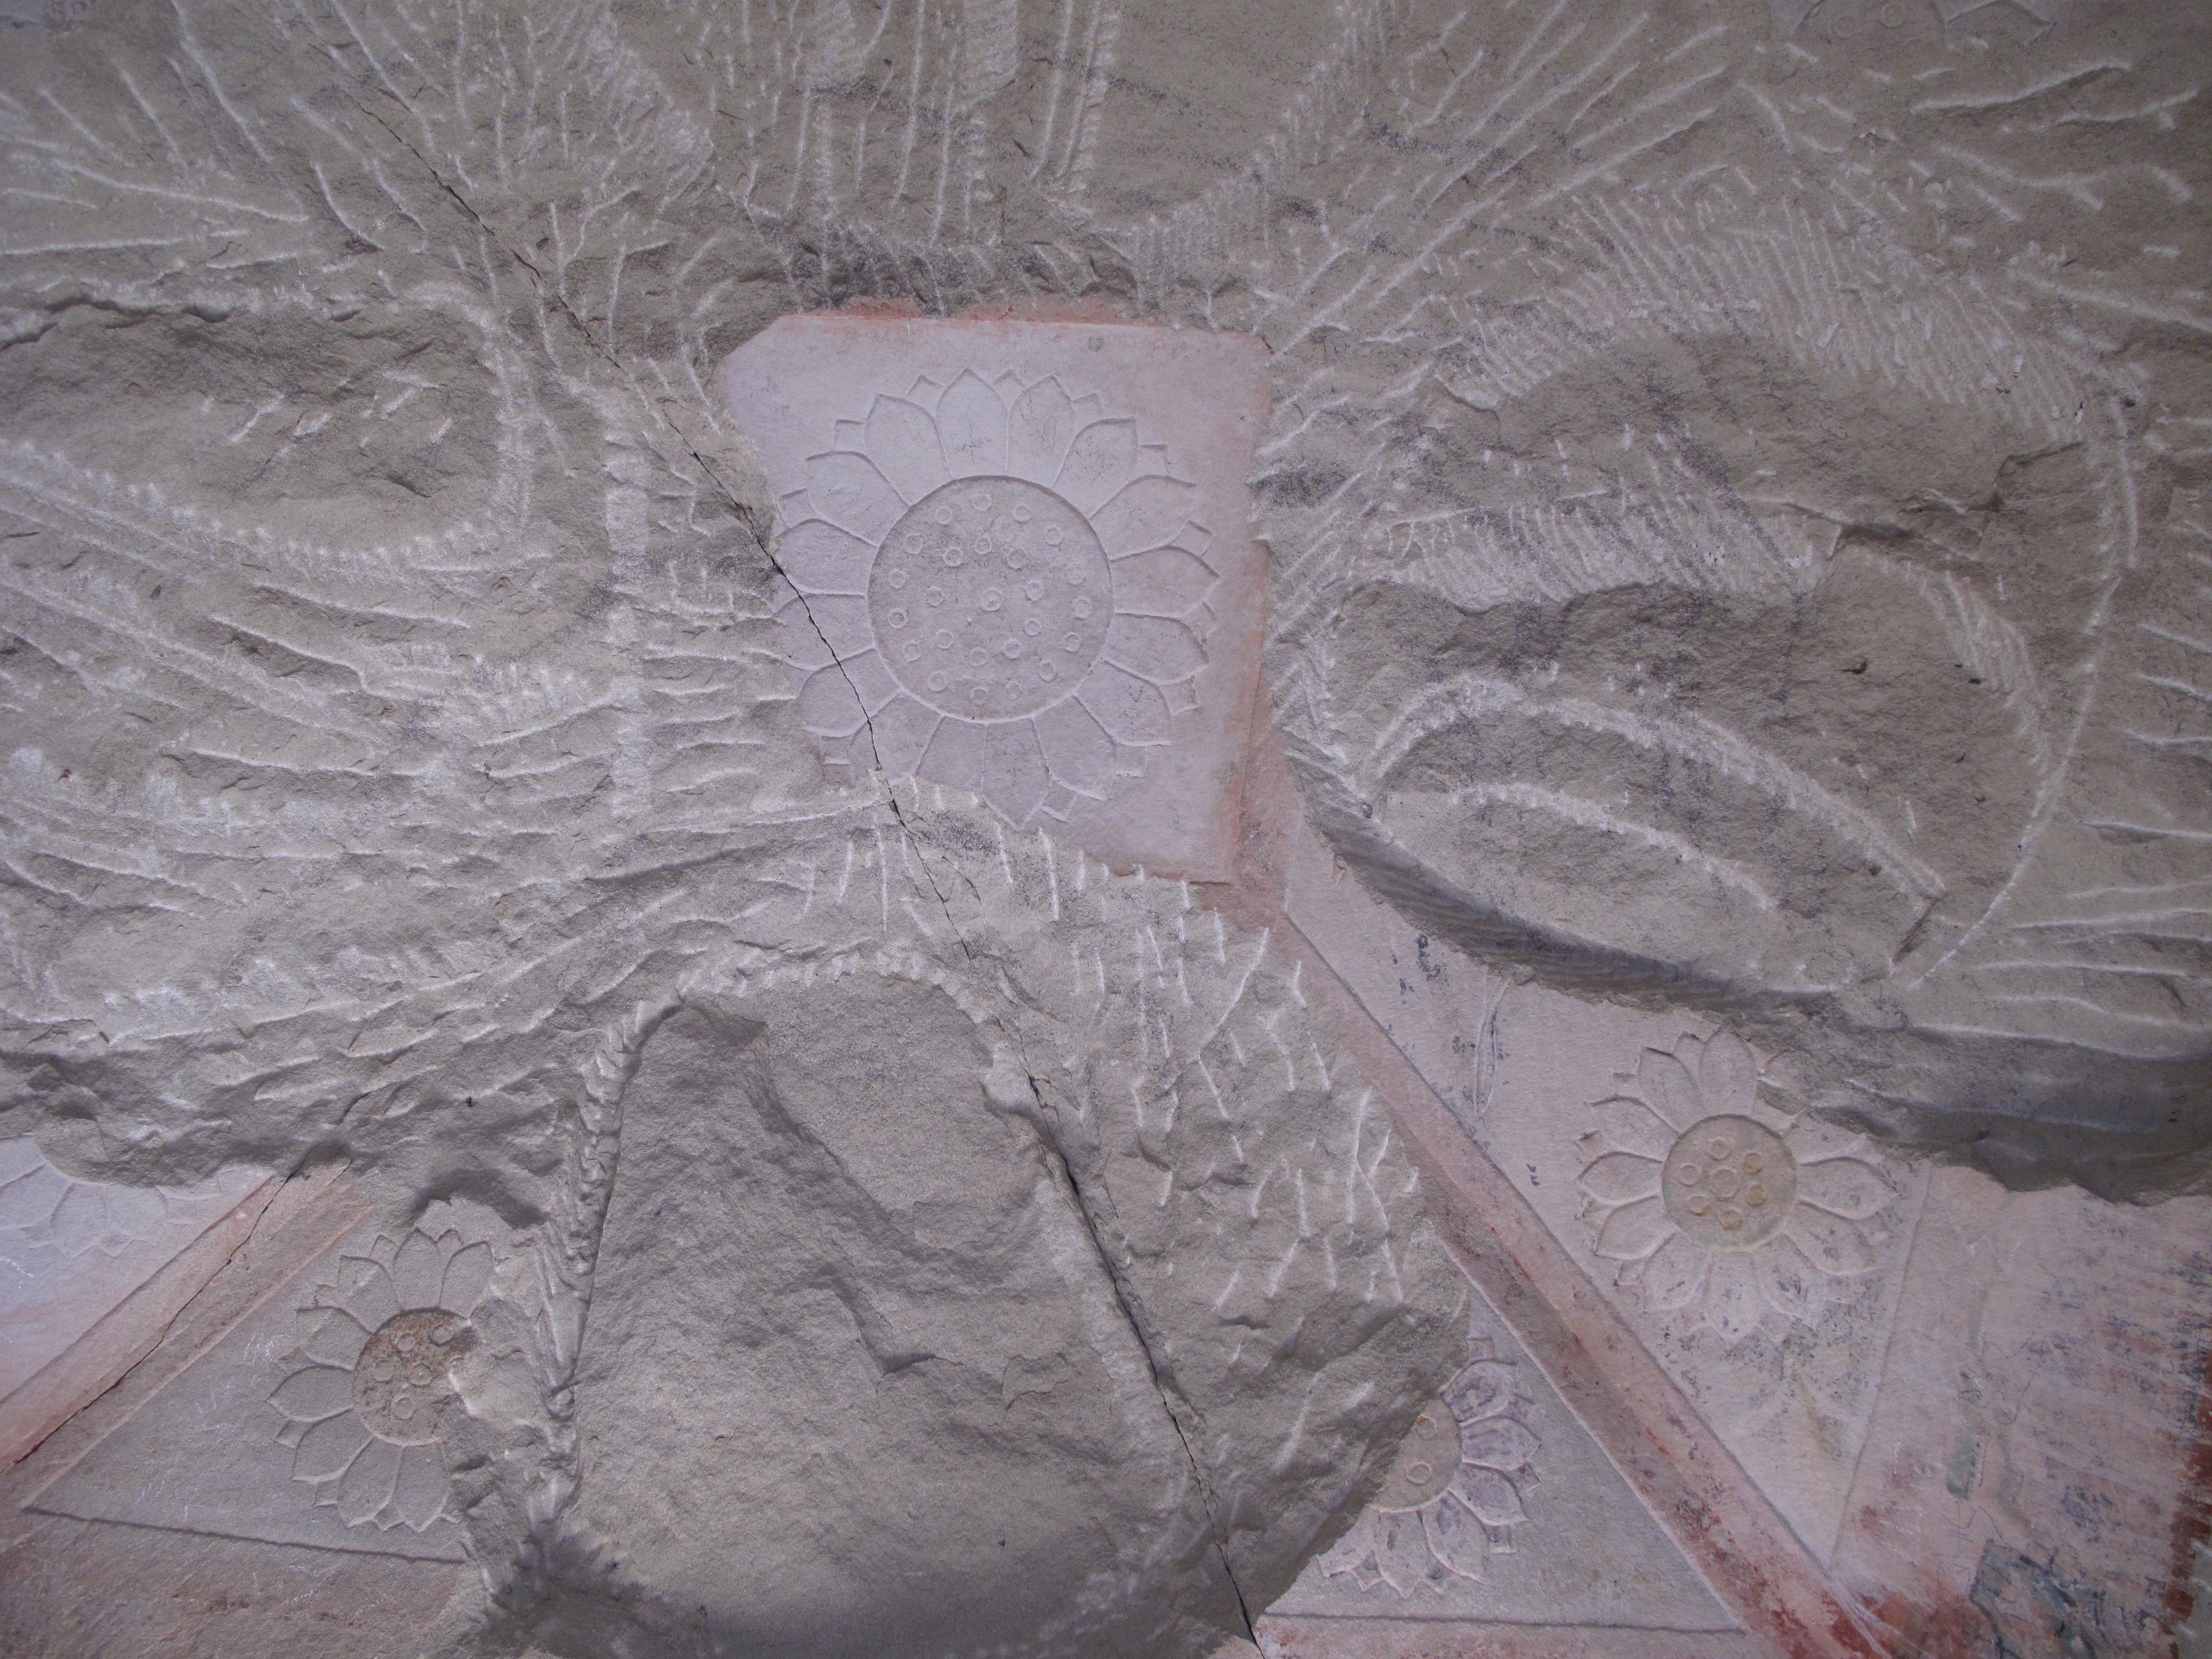
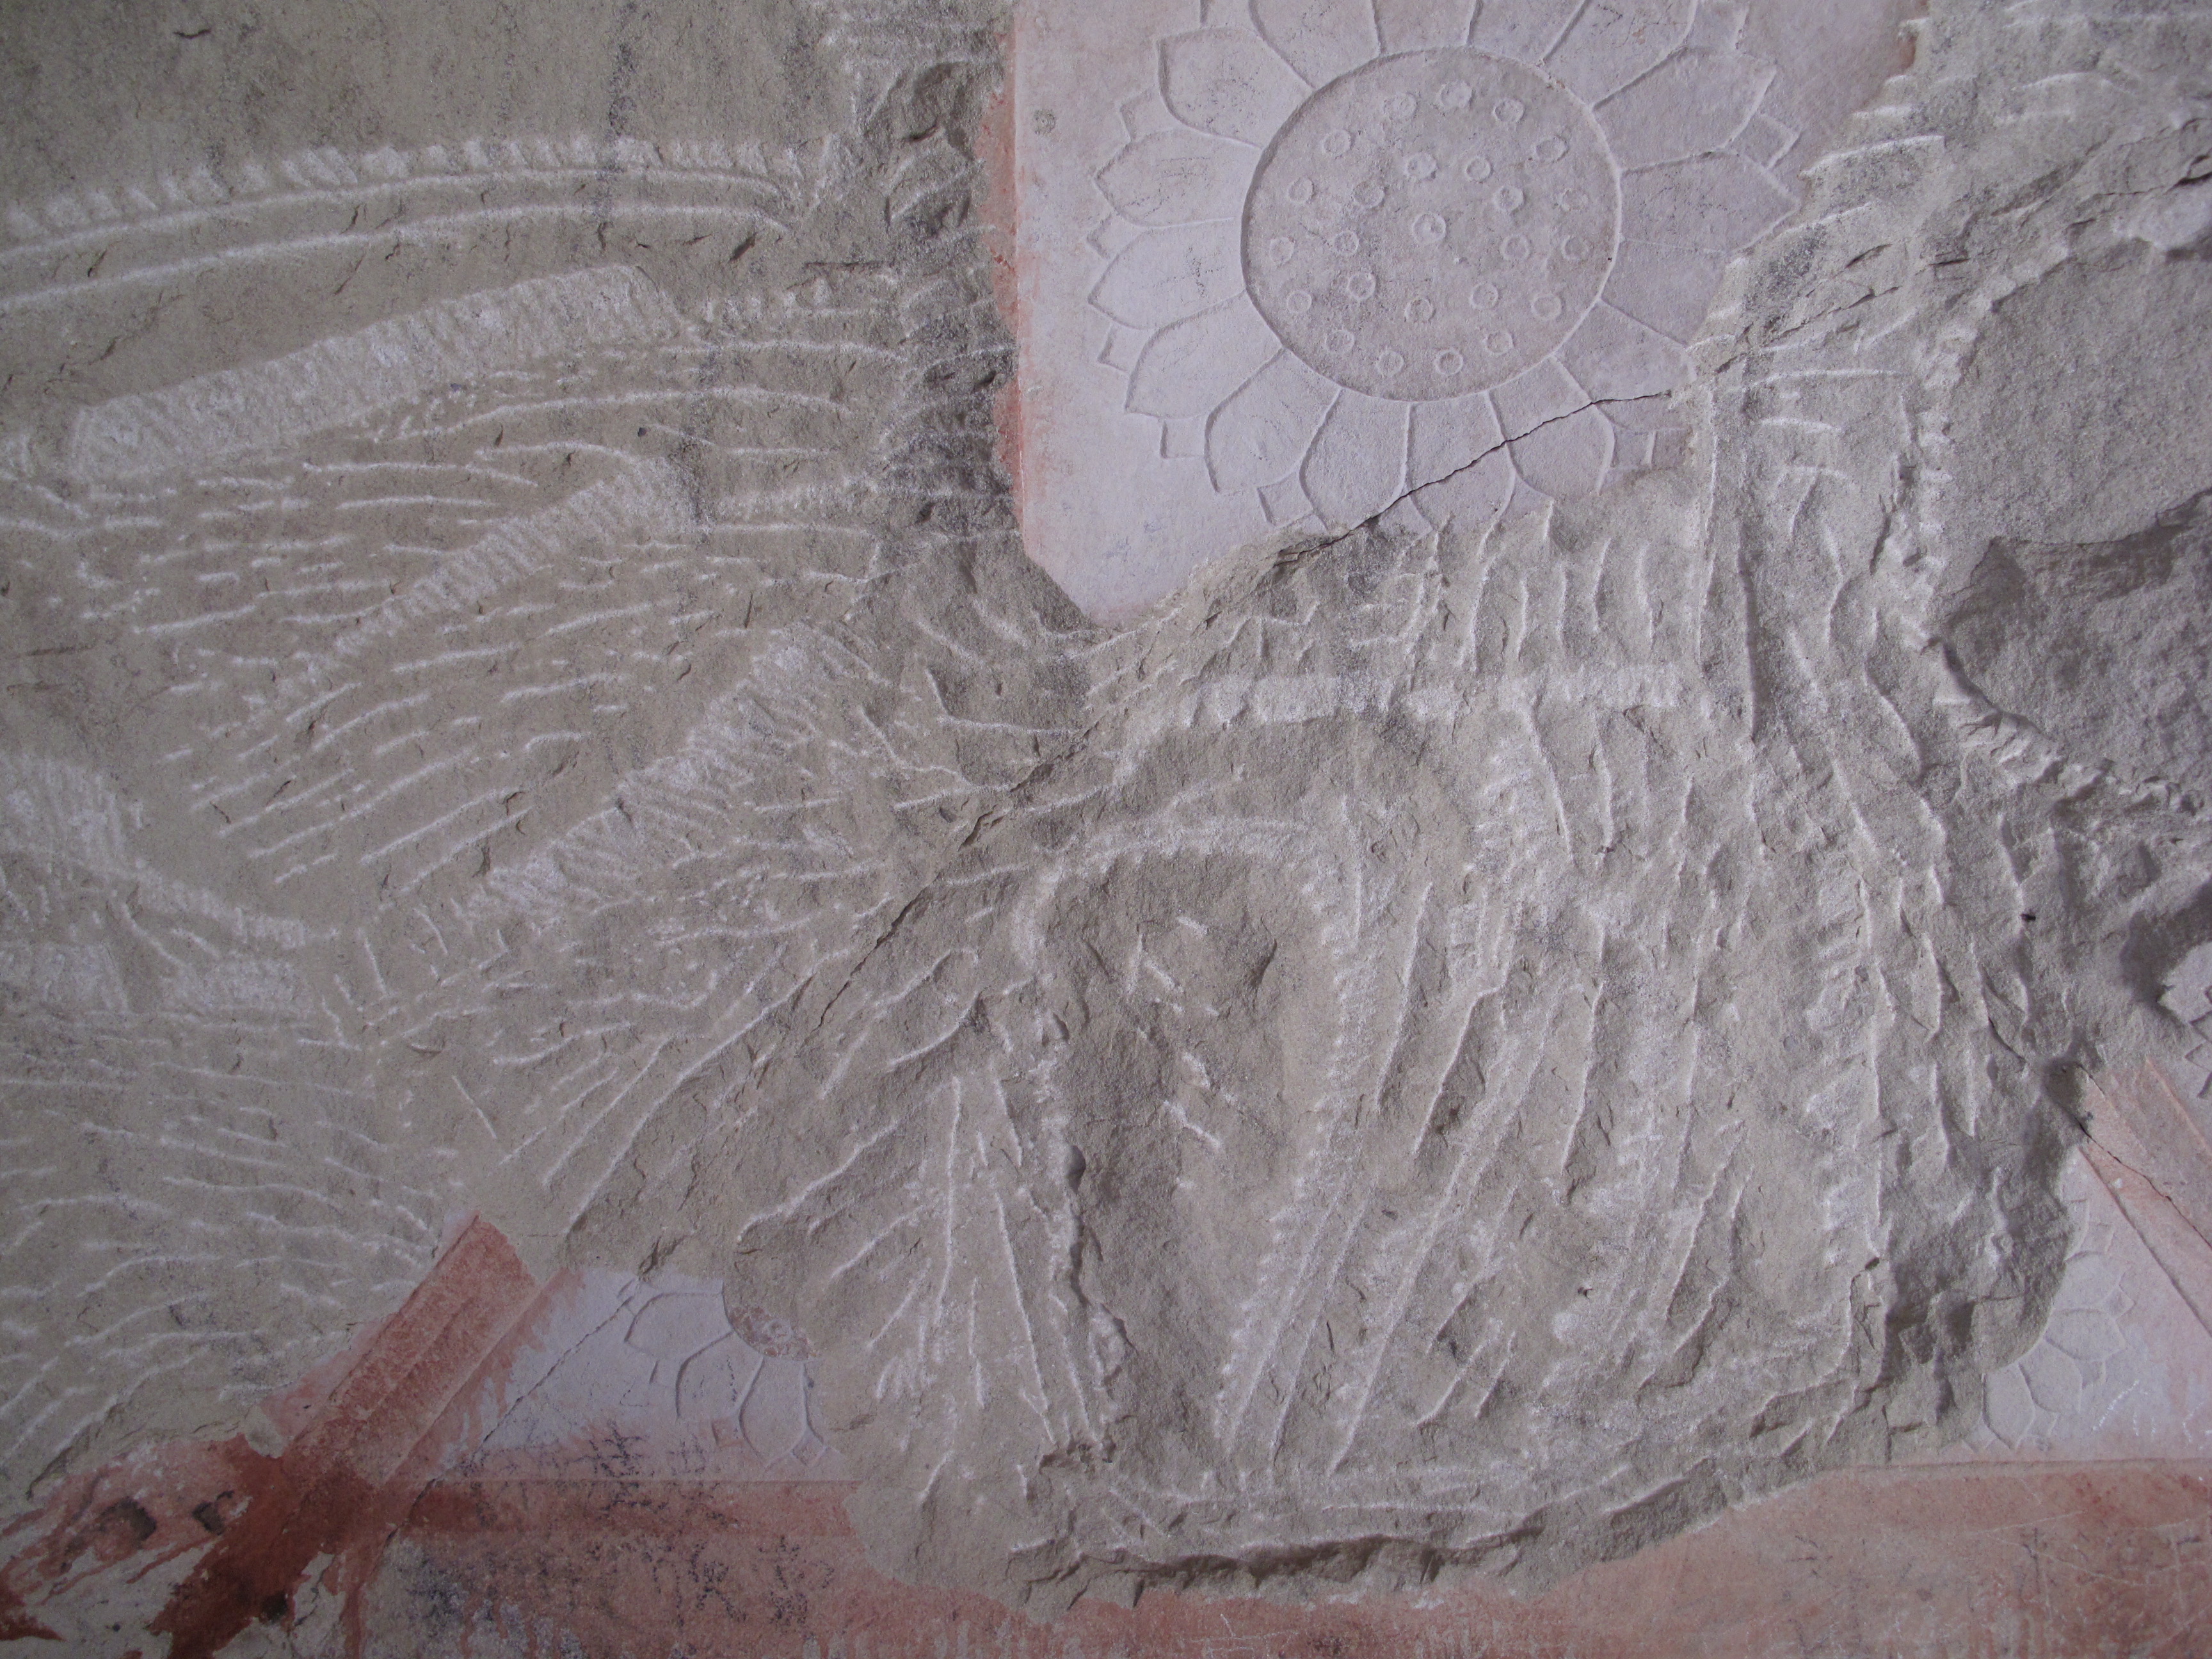
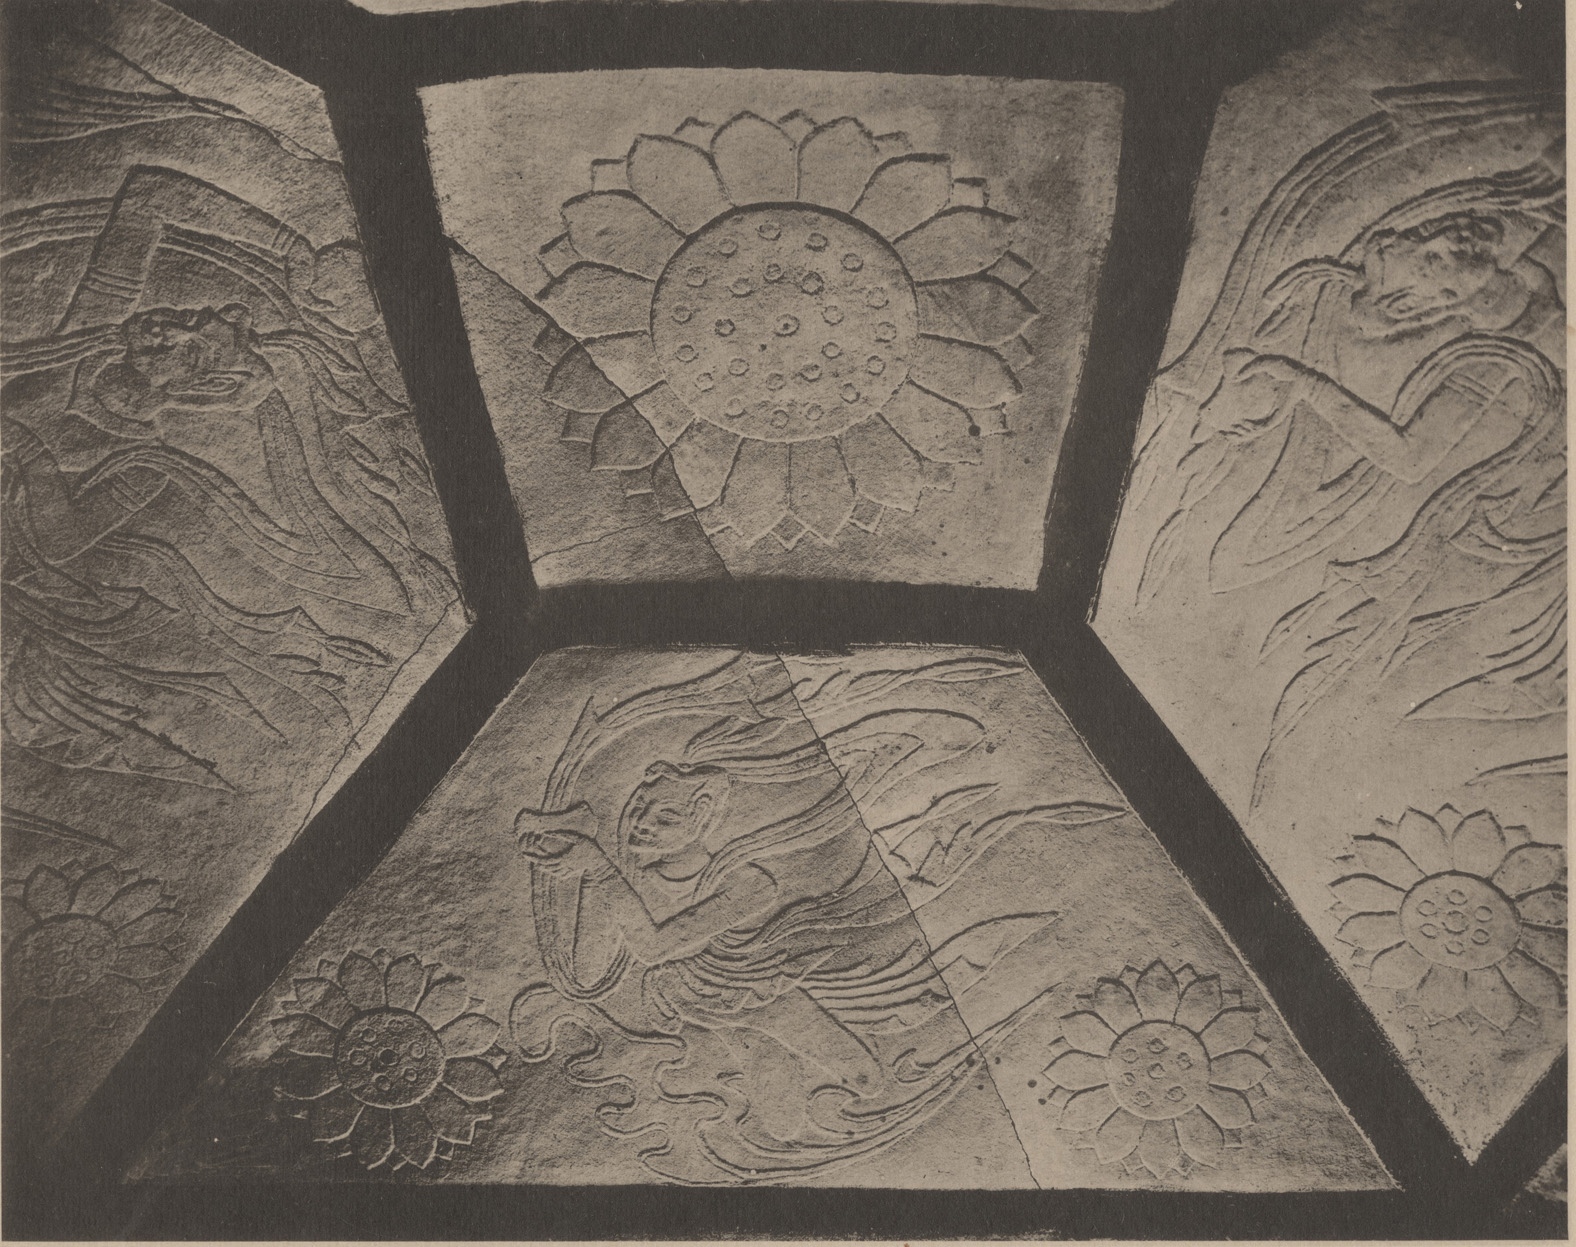
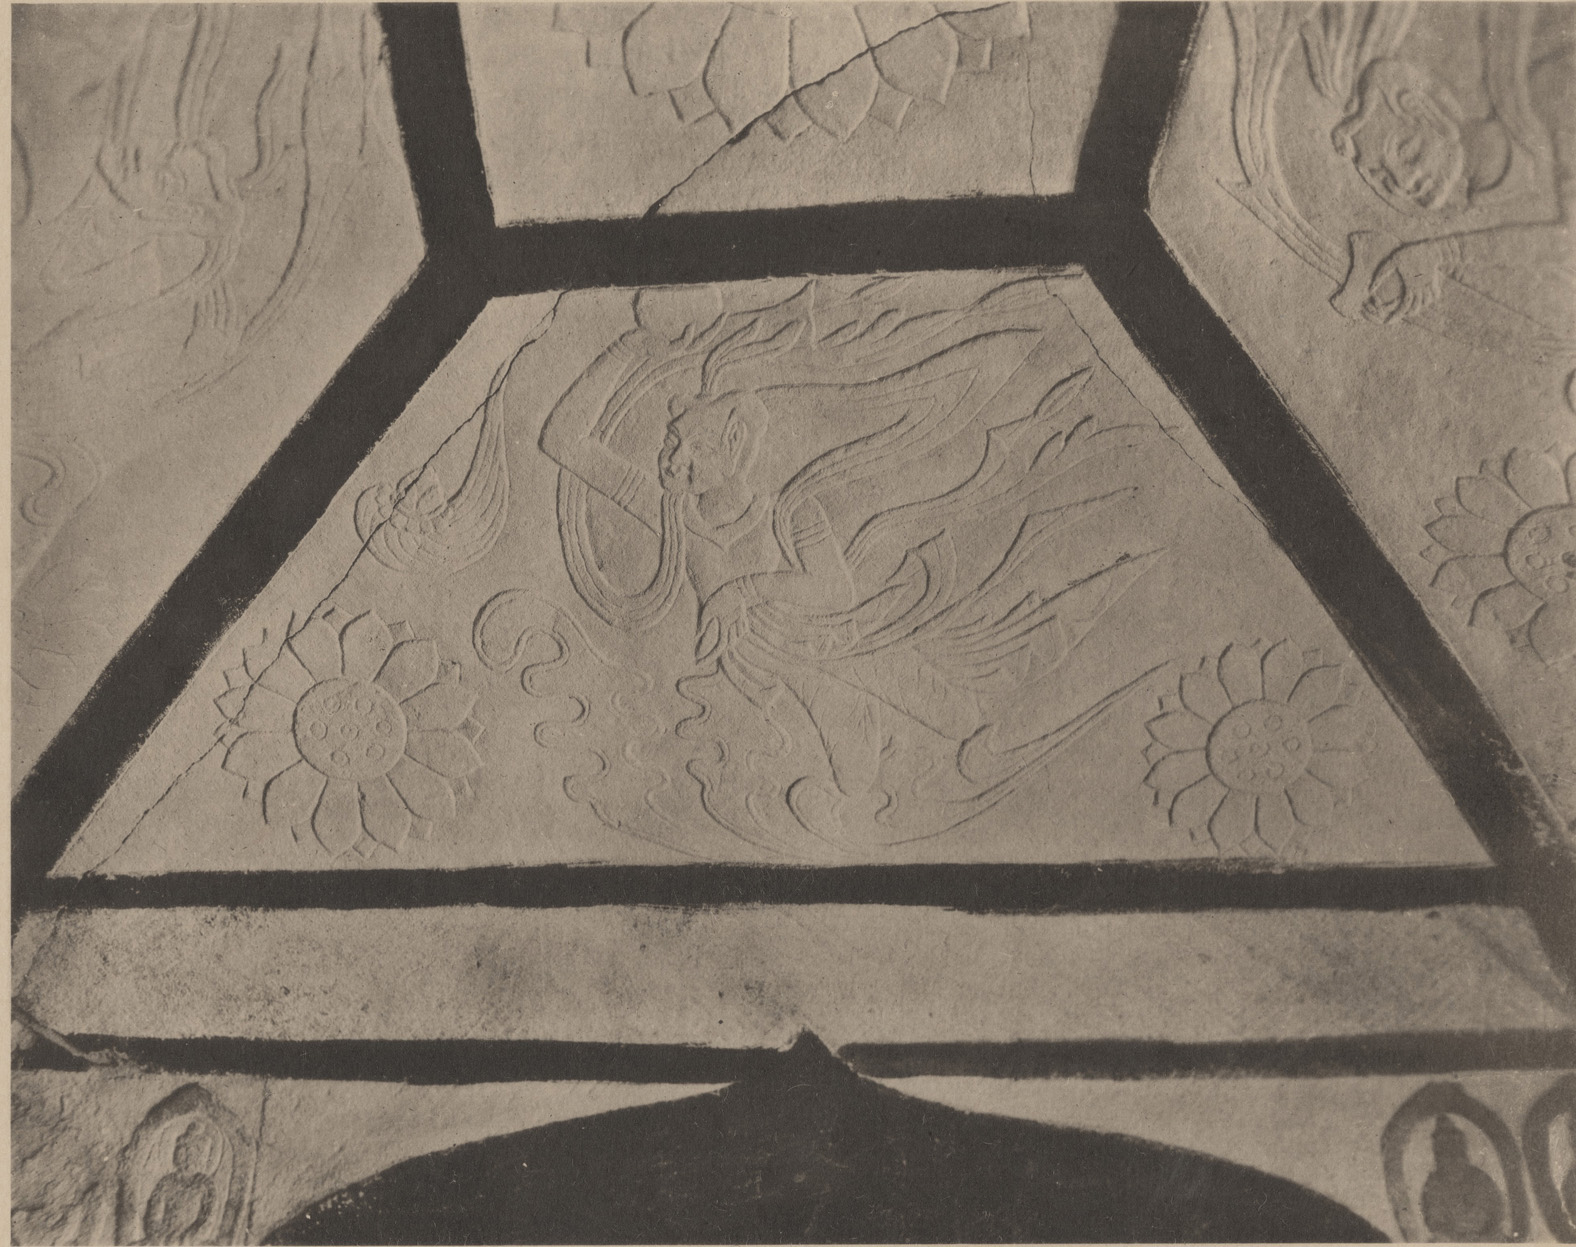
The cave has a square plan with seated Buddha and bodhisattva images on the back and side walls. Relief figures of Vimalakirti and Manjusri appear at the sides of the main niche on the east wall, and two disciples dressed in monks' robes on the front wall flanking the doorway. The four sloping sides of the ceiling also have relief carvings of four flying apsarases, cloud patterns, and lotus blossoms around a large central lotus. Now only the central lotus remains on the ceiling.
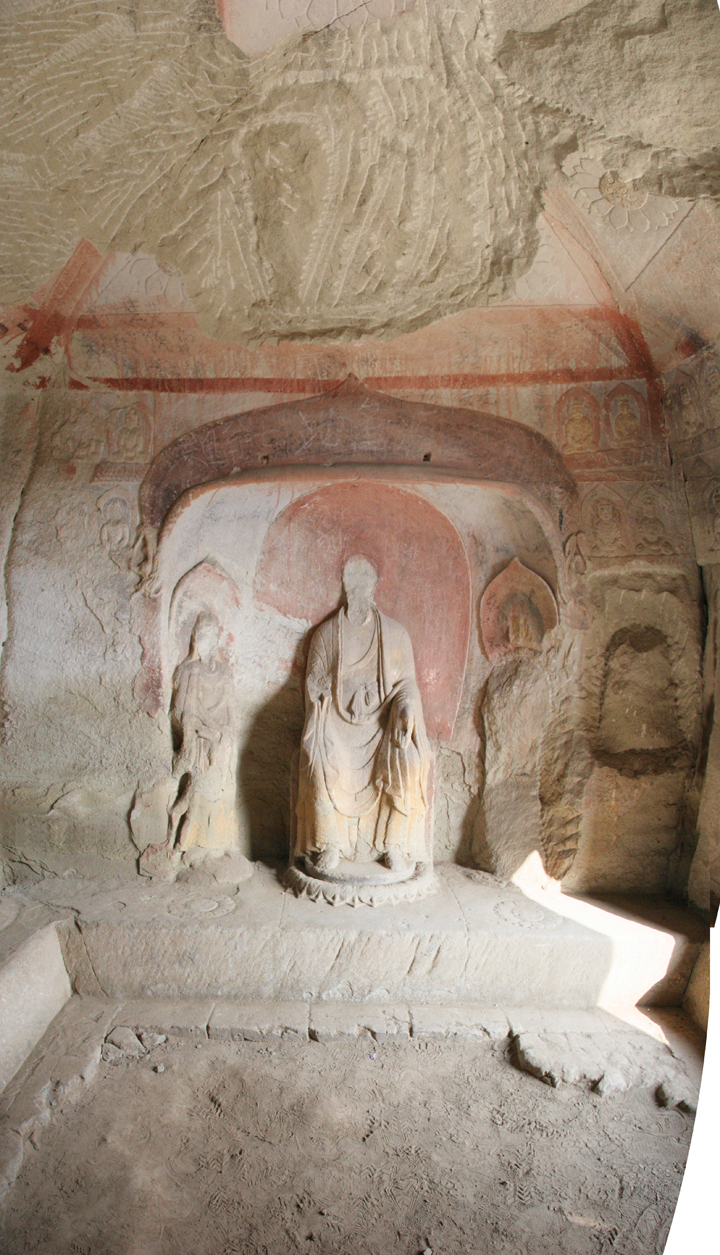
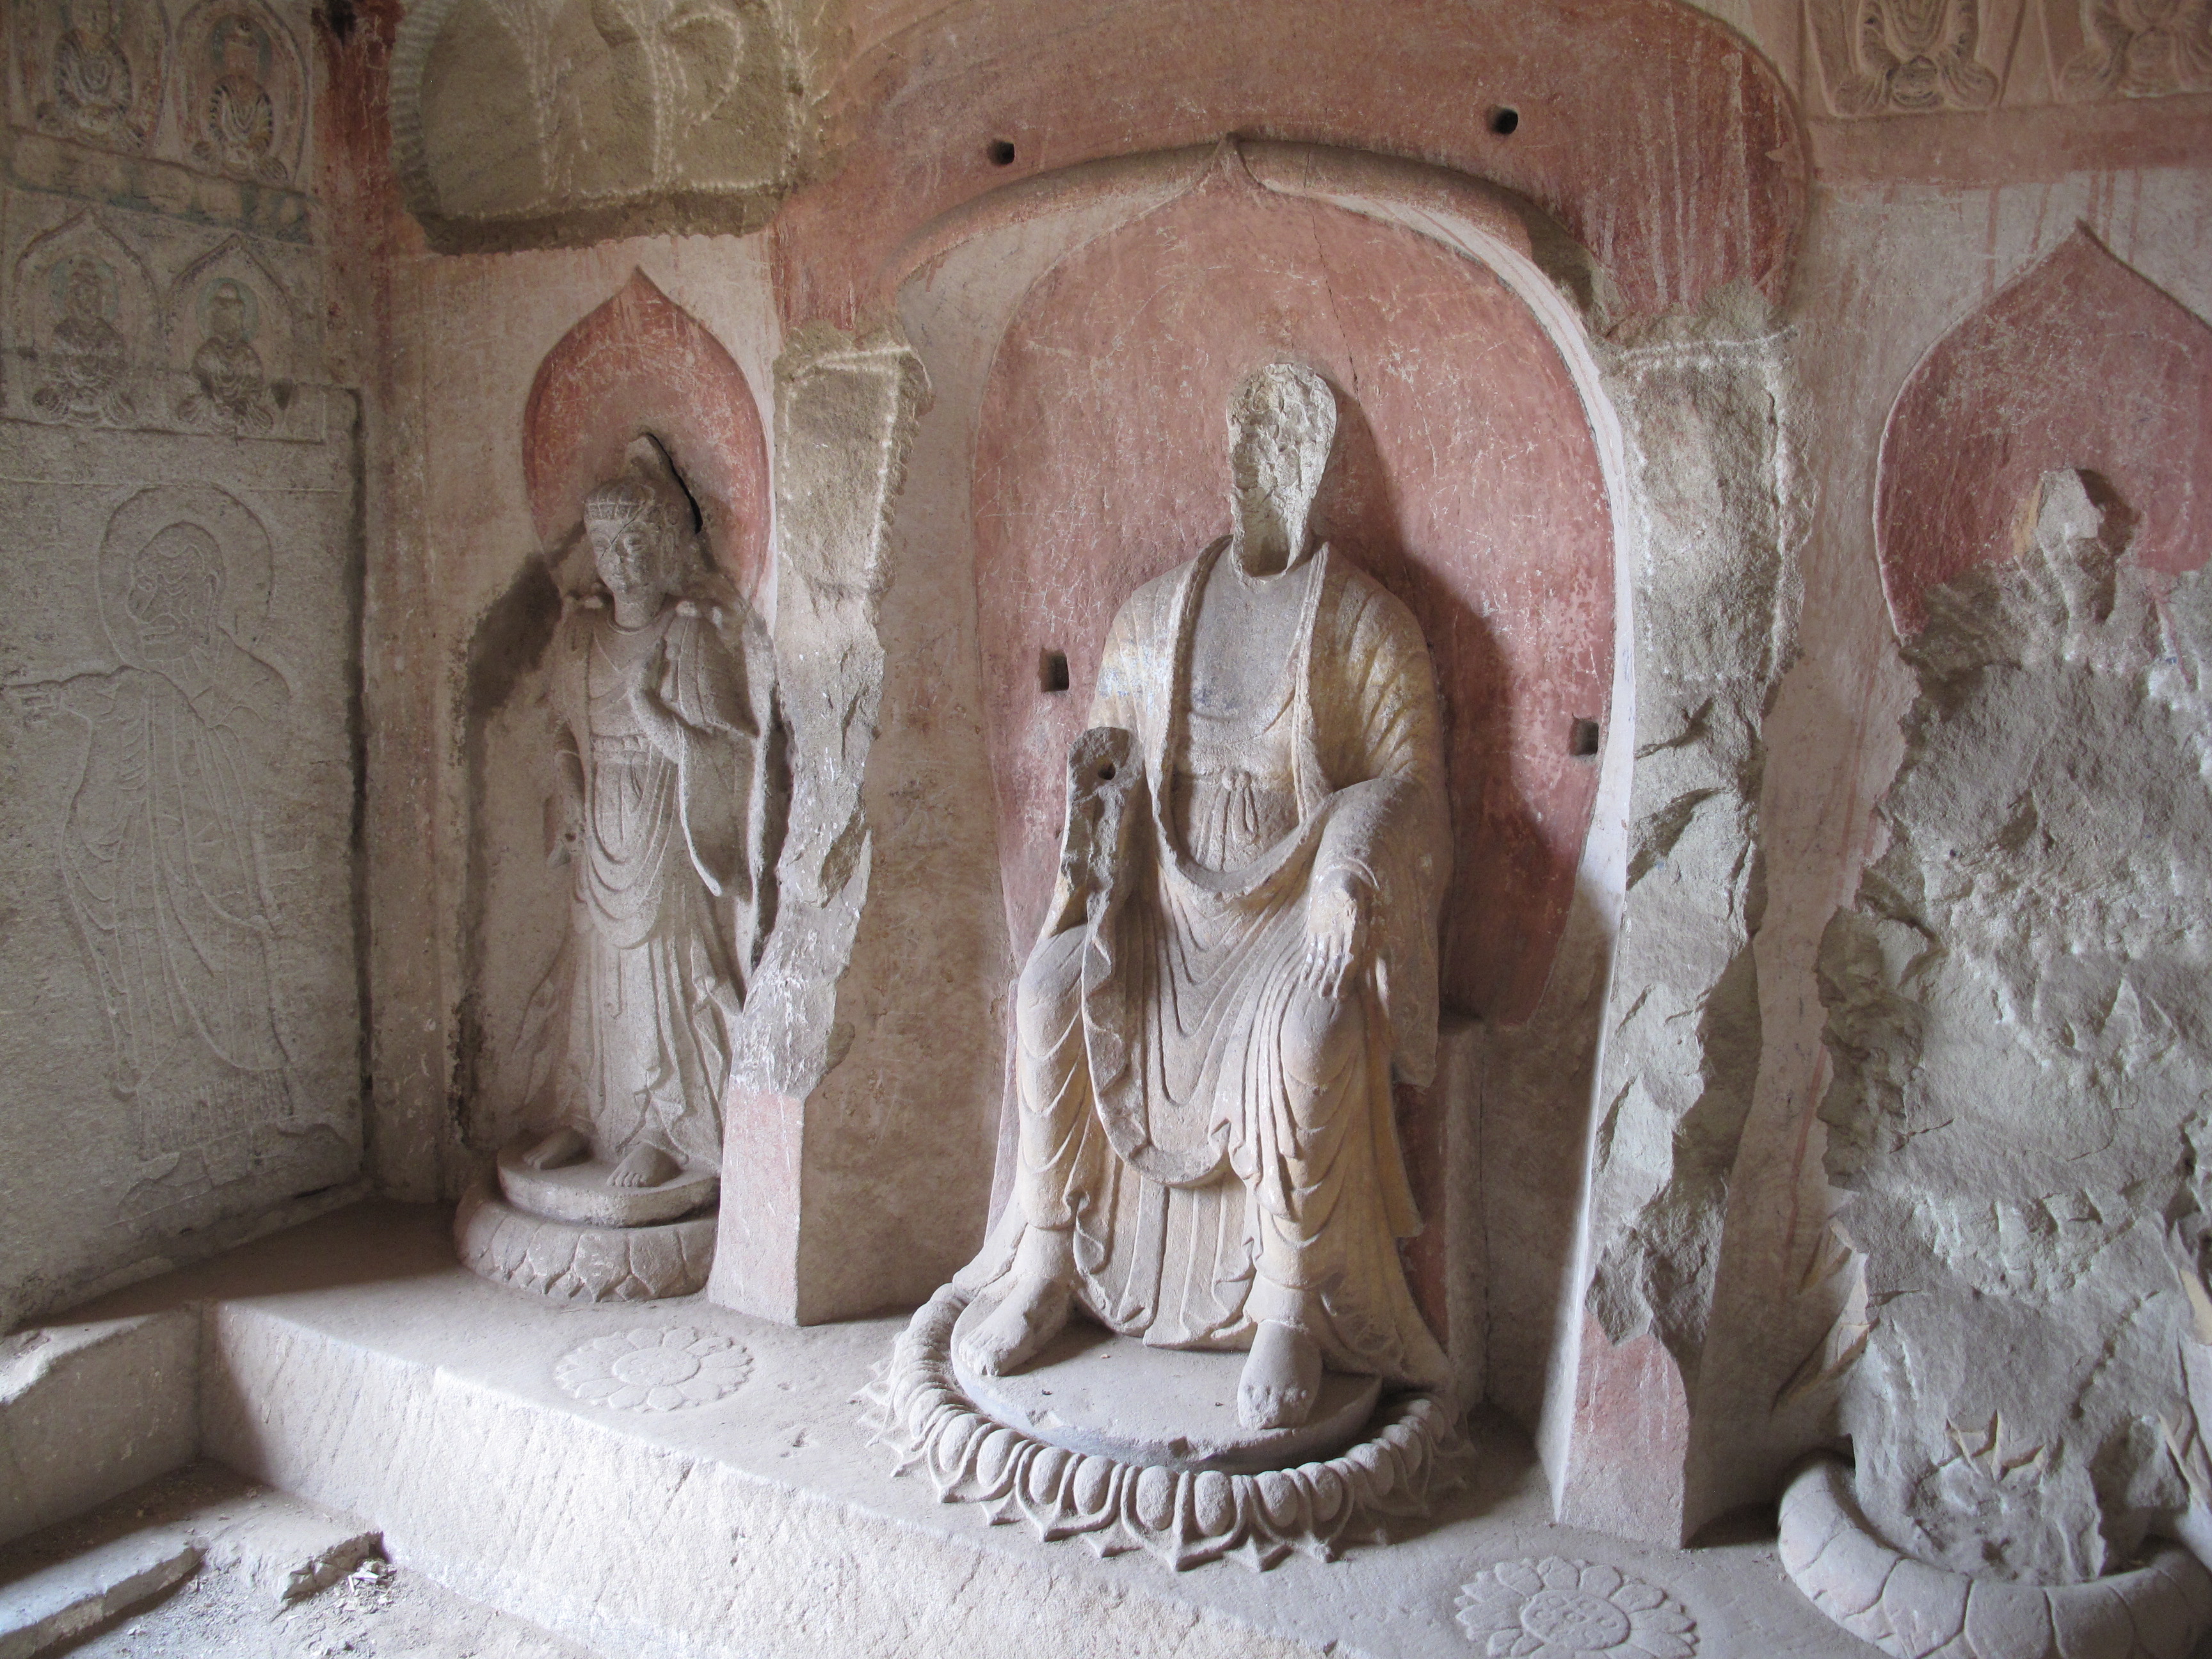
Cave 2 north wall Buddha and bodhisattvas
Cave 2 north wall detail
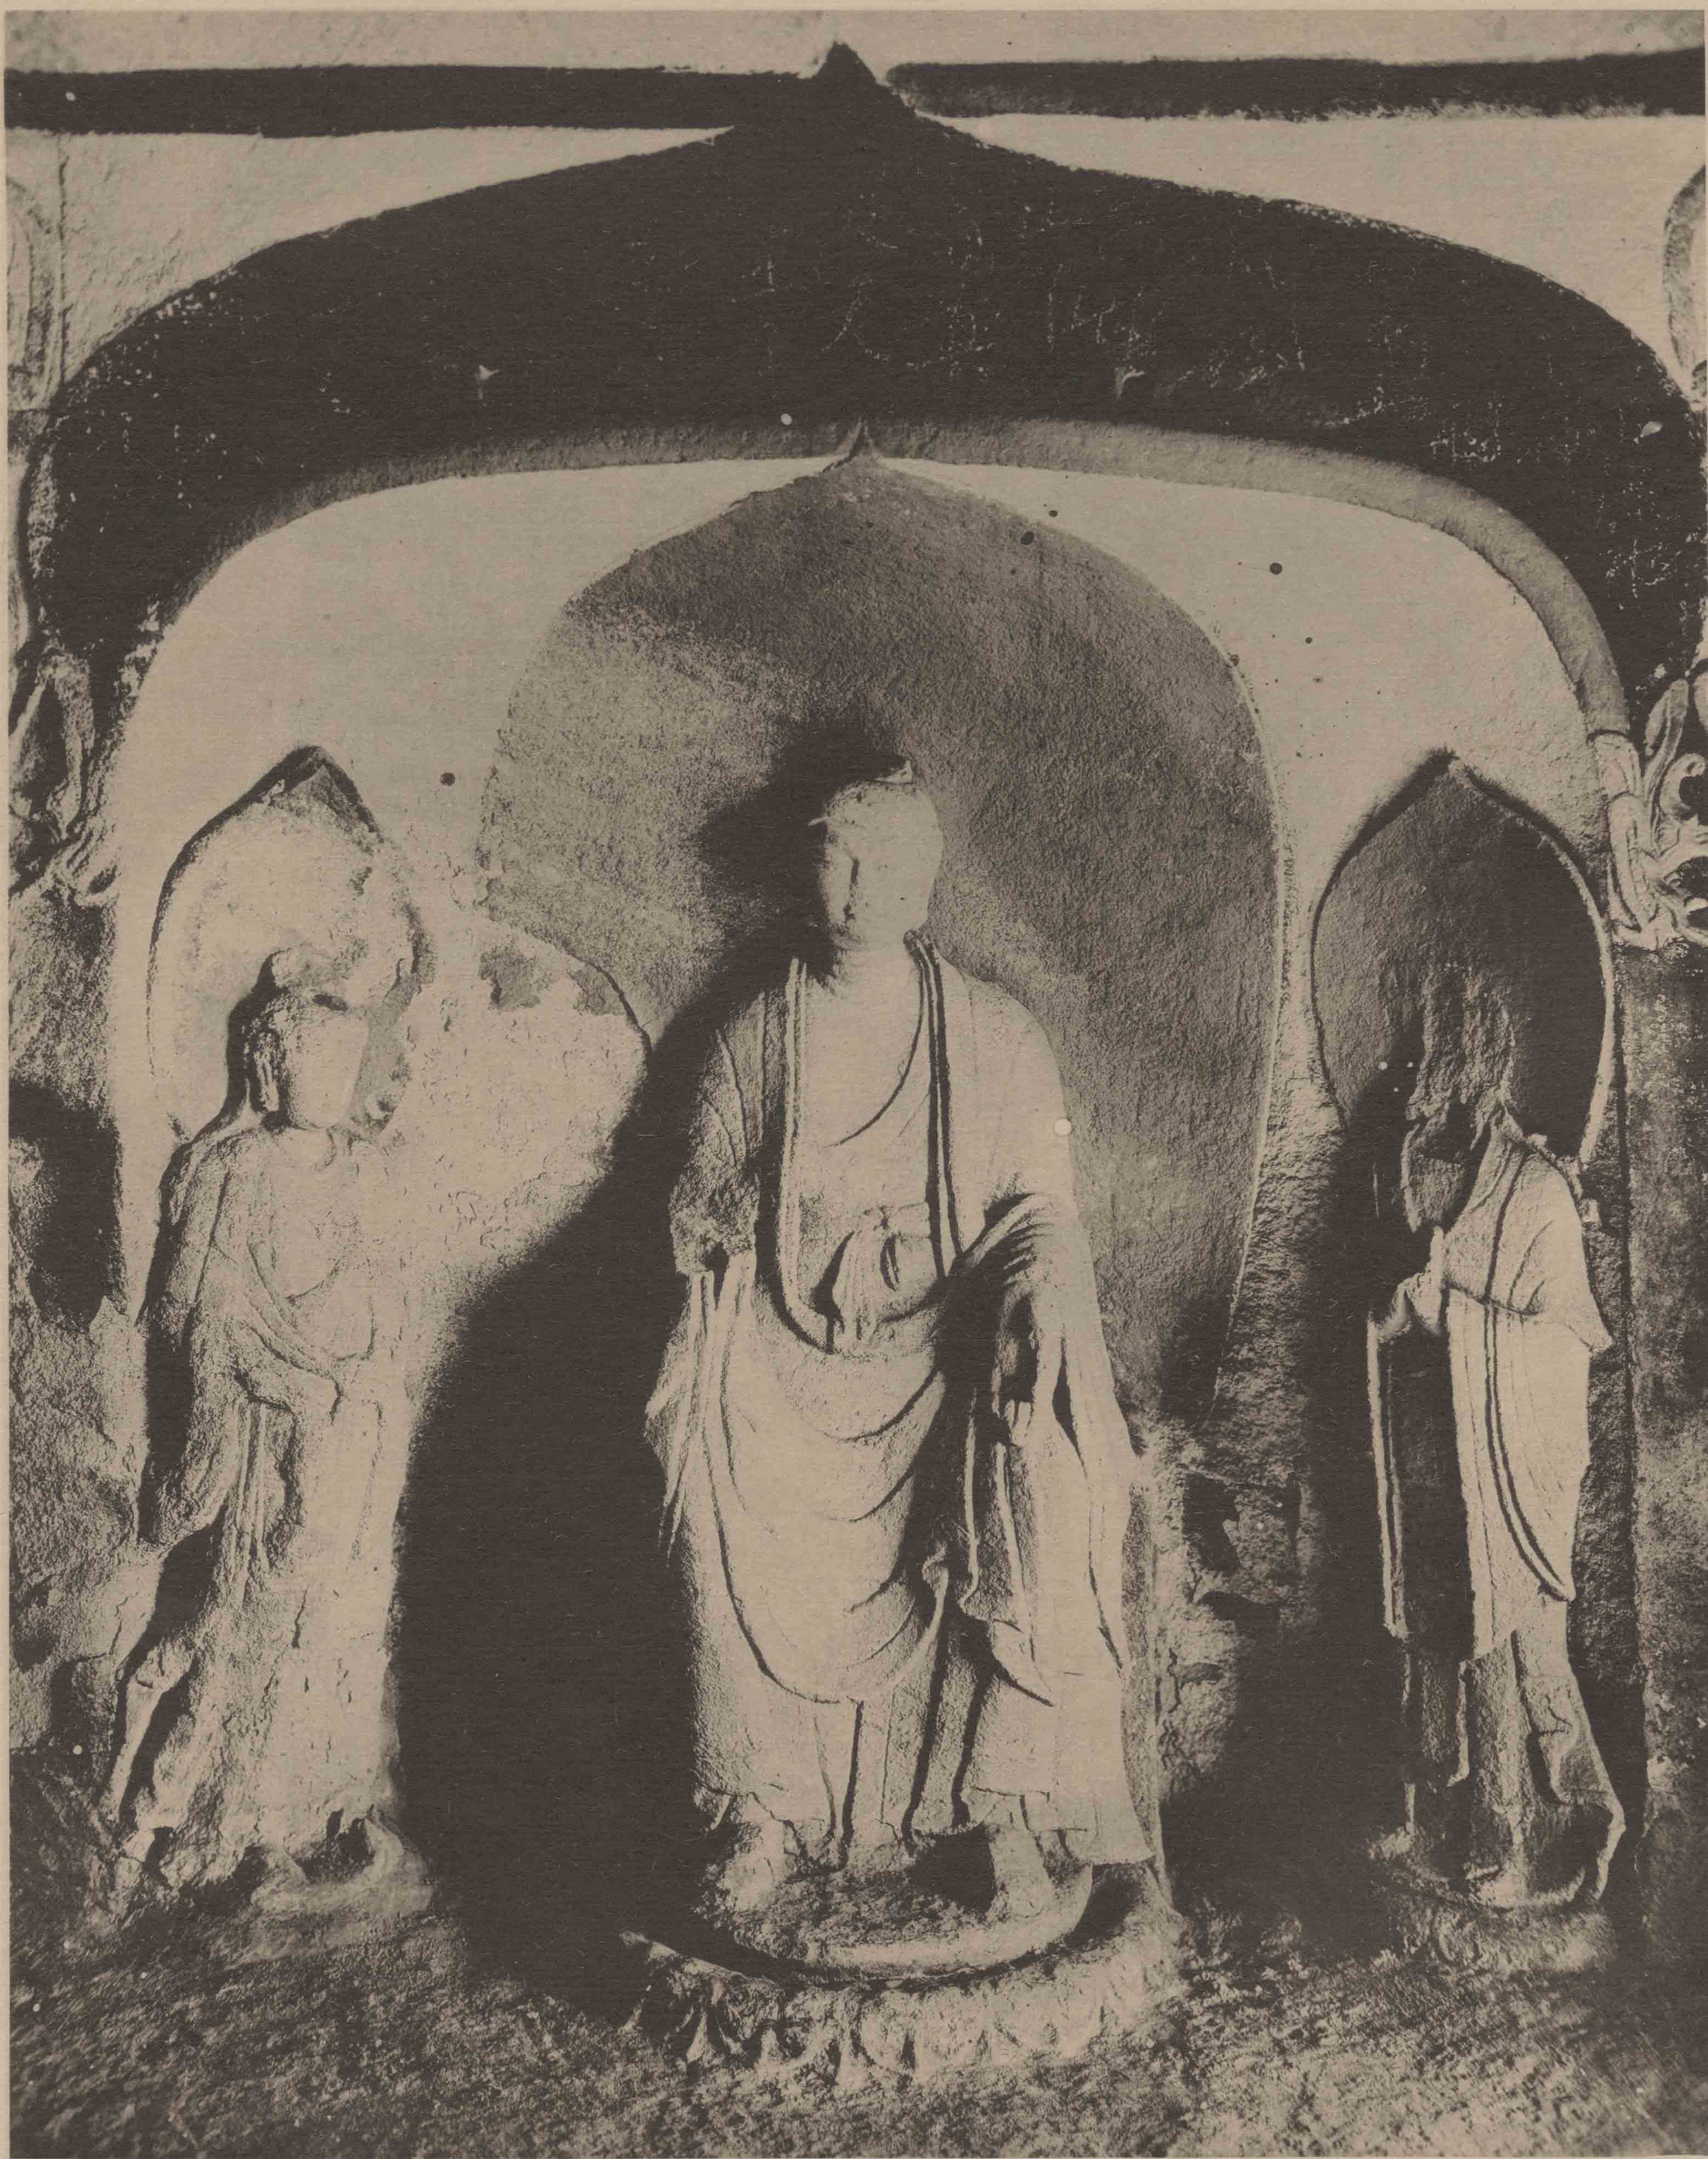
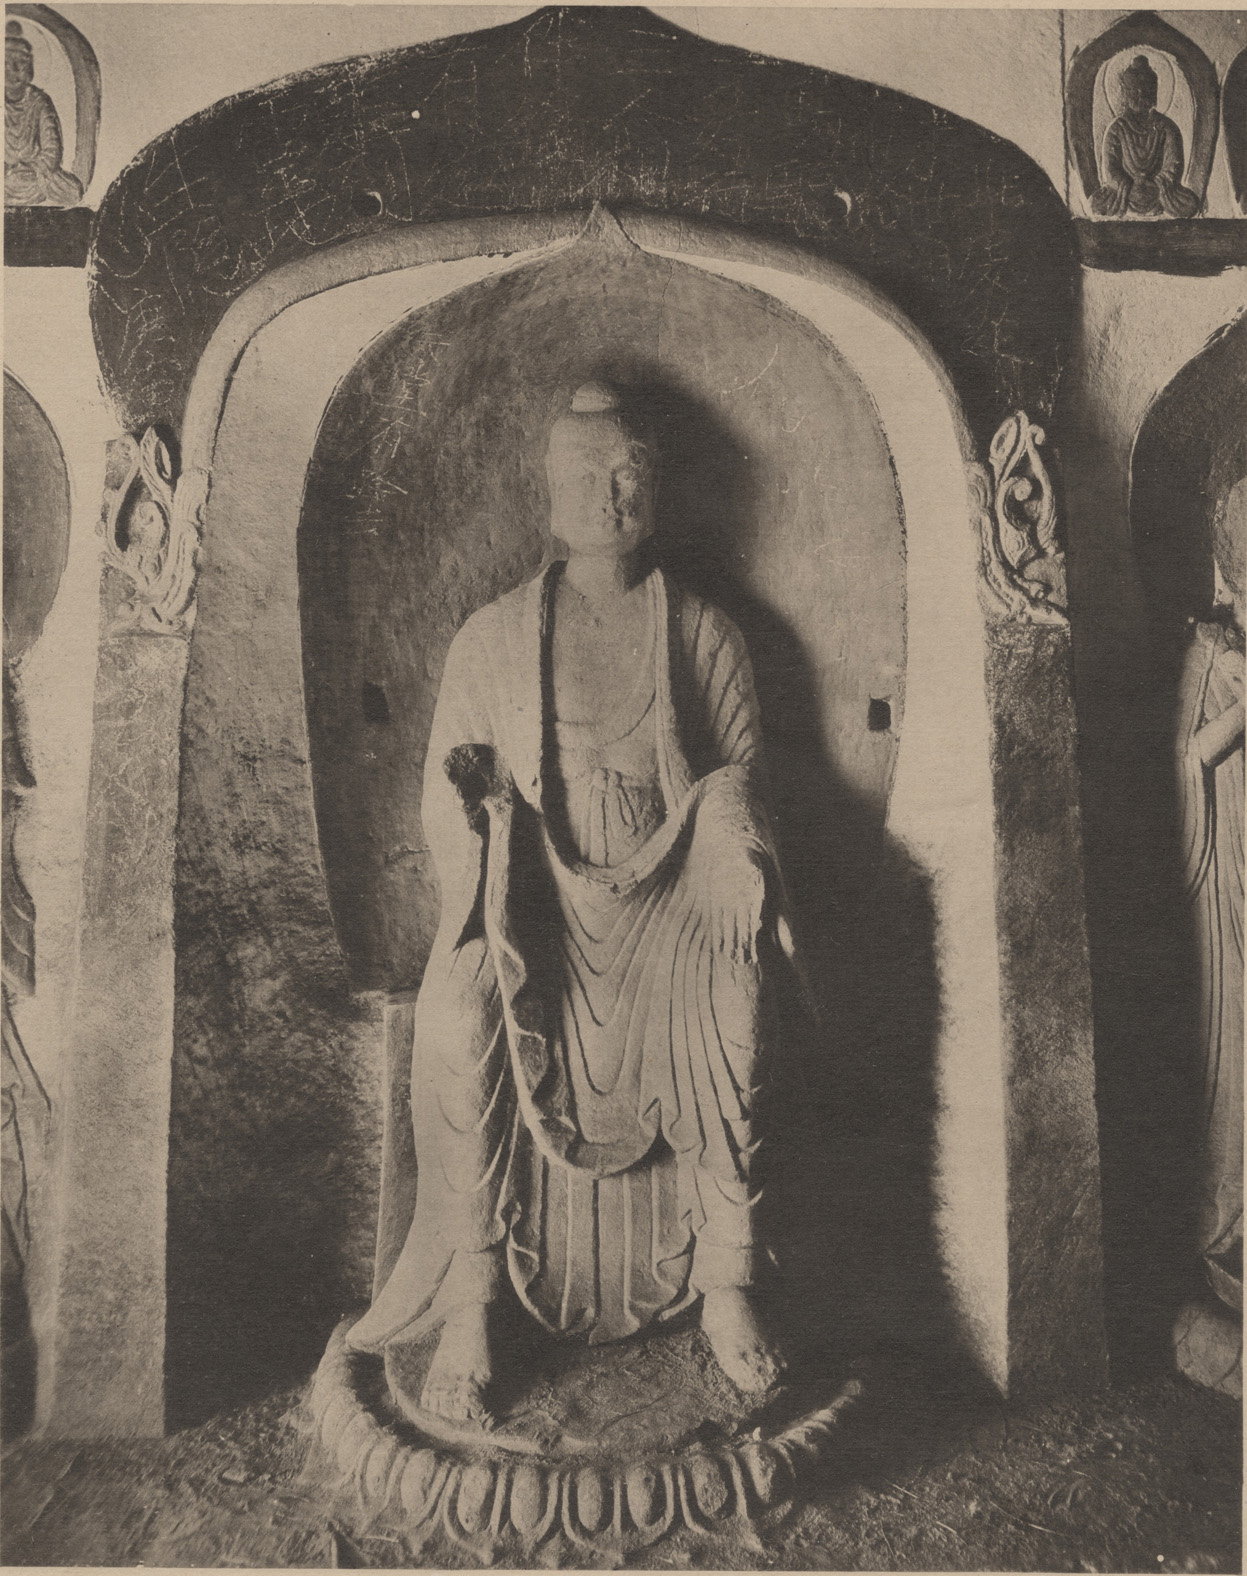
Historical photo, Cave 2 north wall seated Buddha in curtained niche.
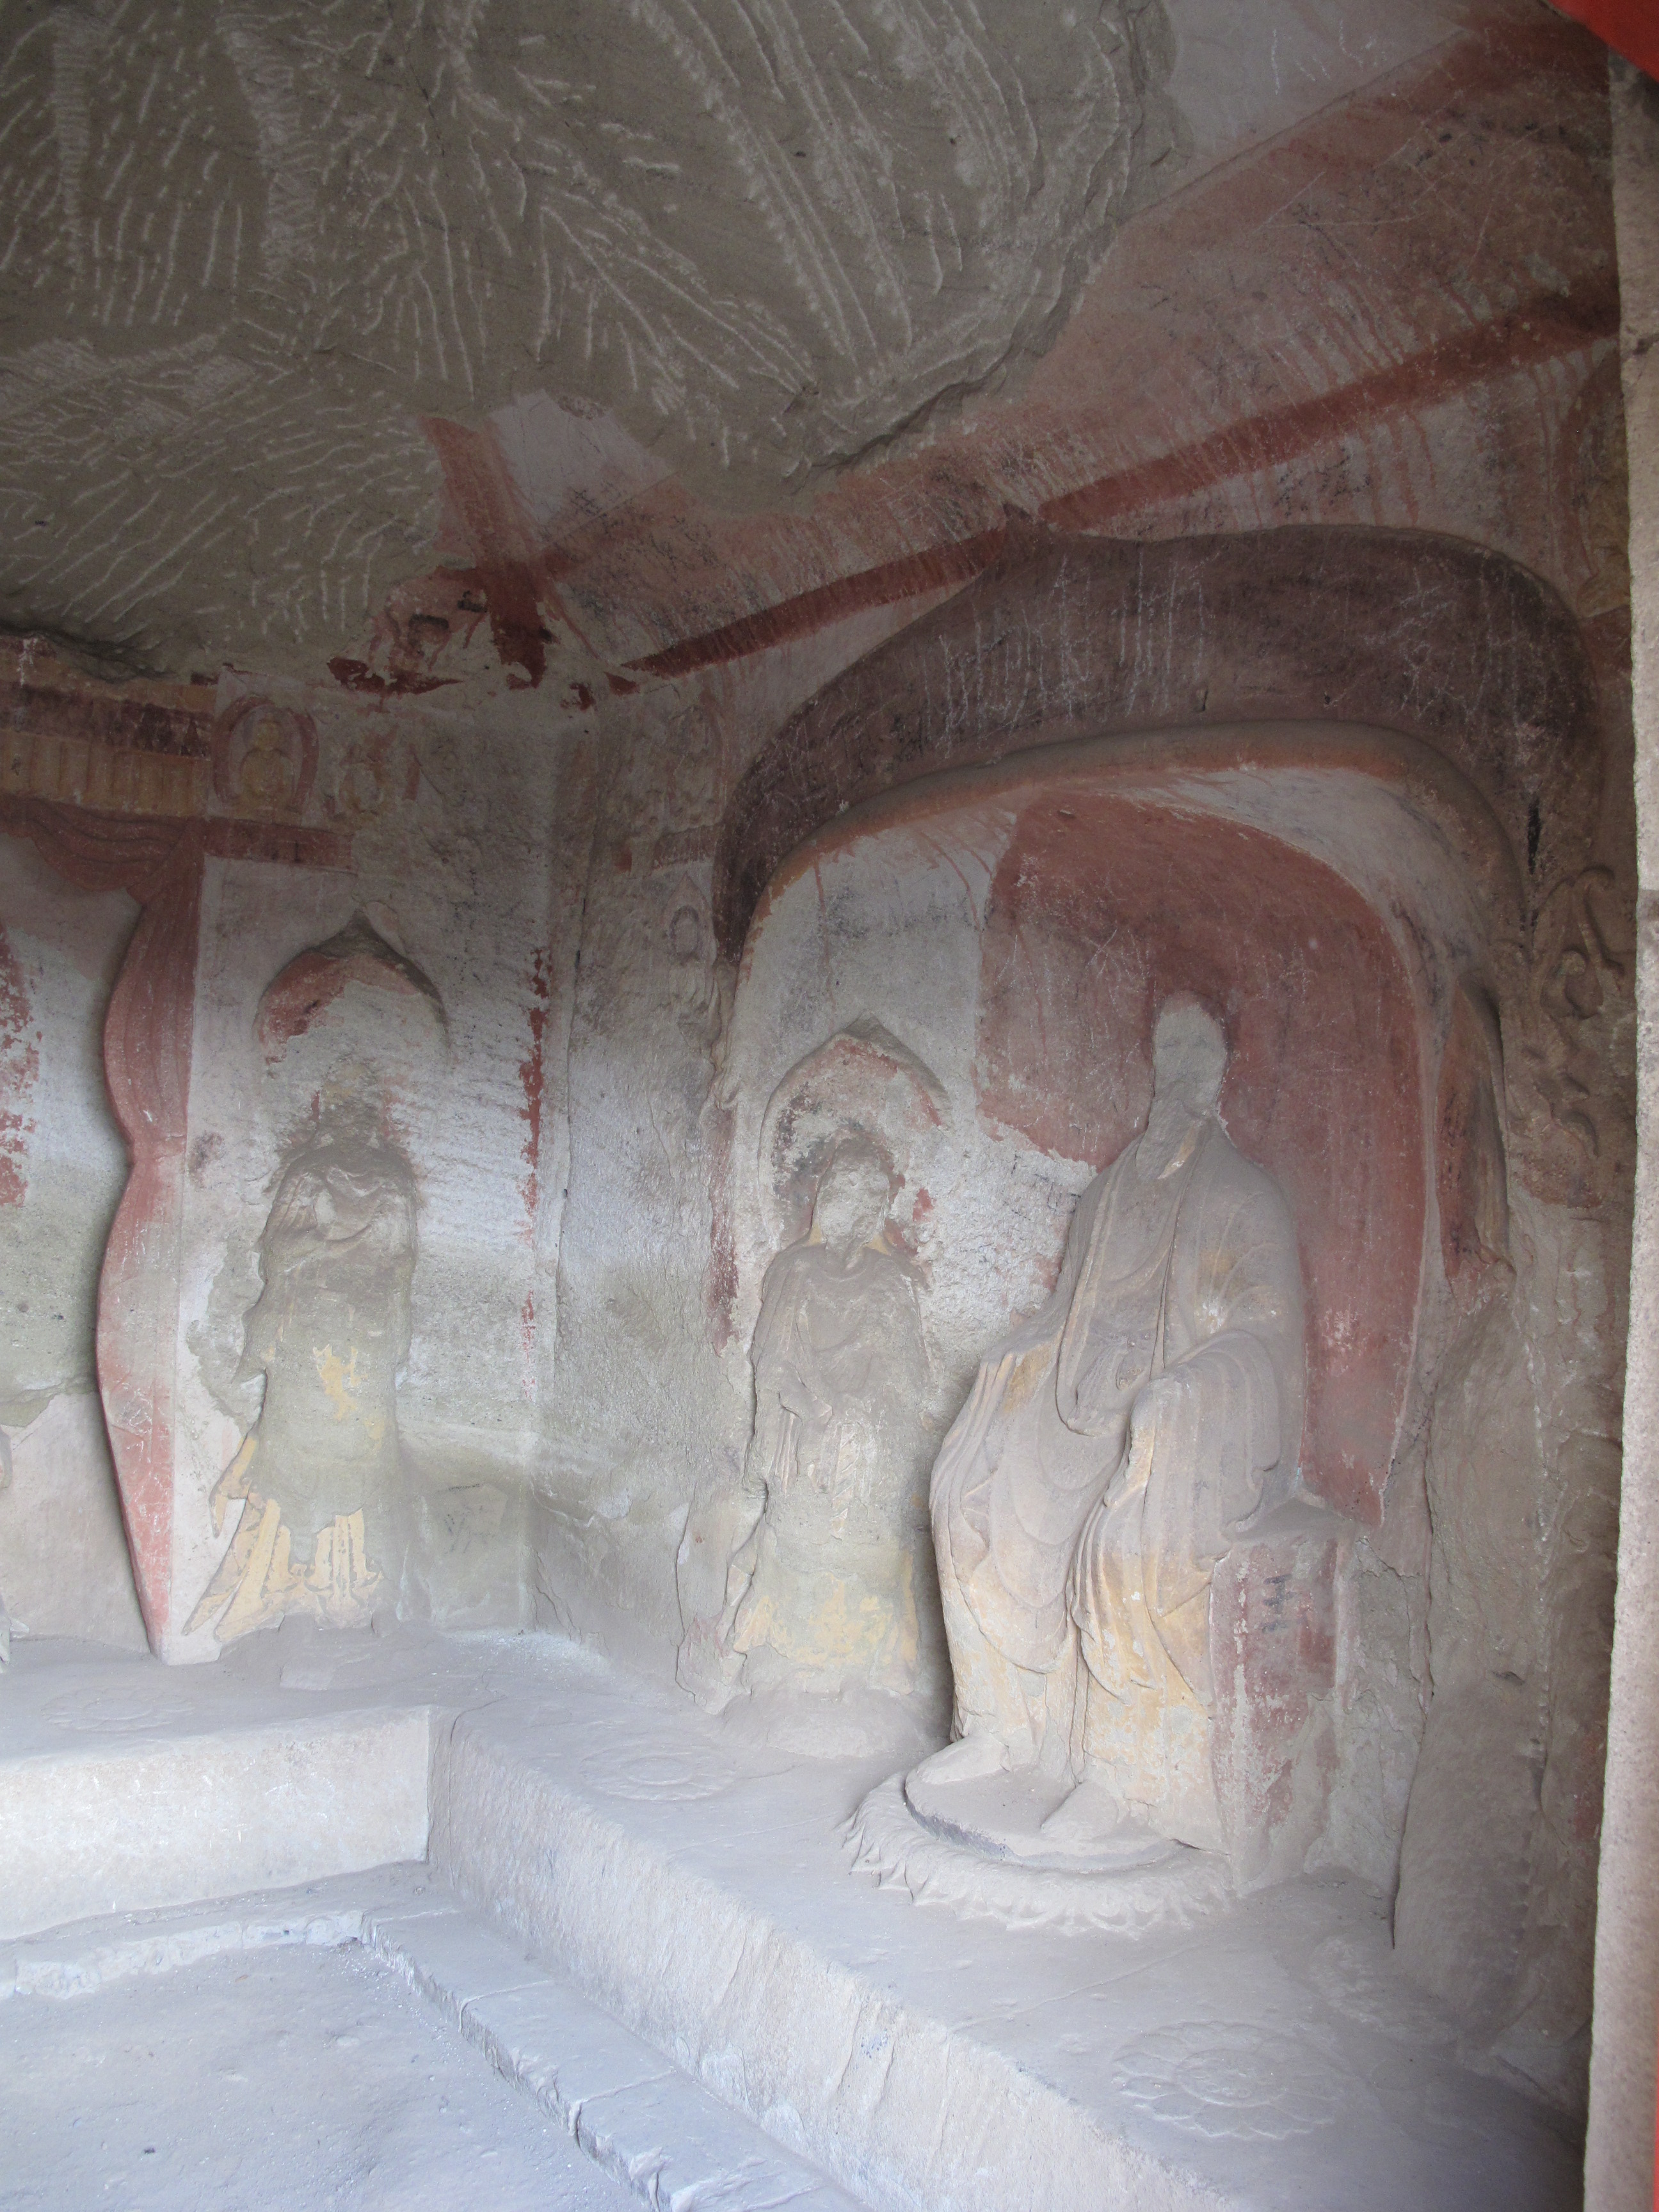
Cave 2 east wall and ceiling.
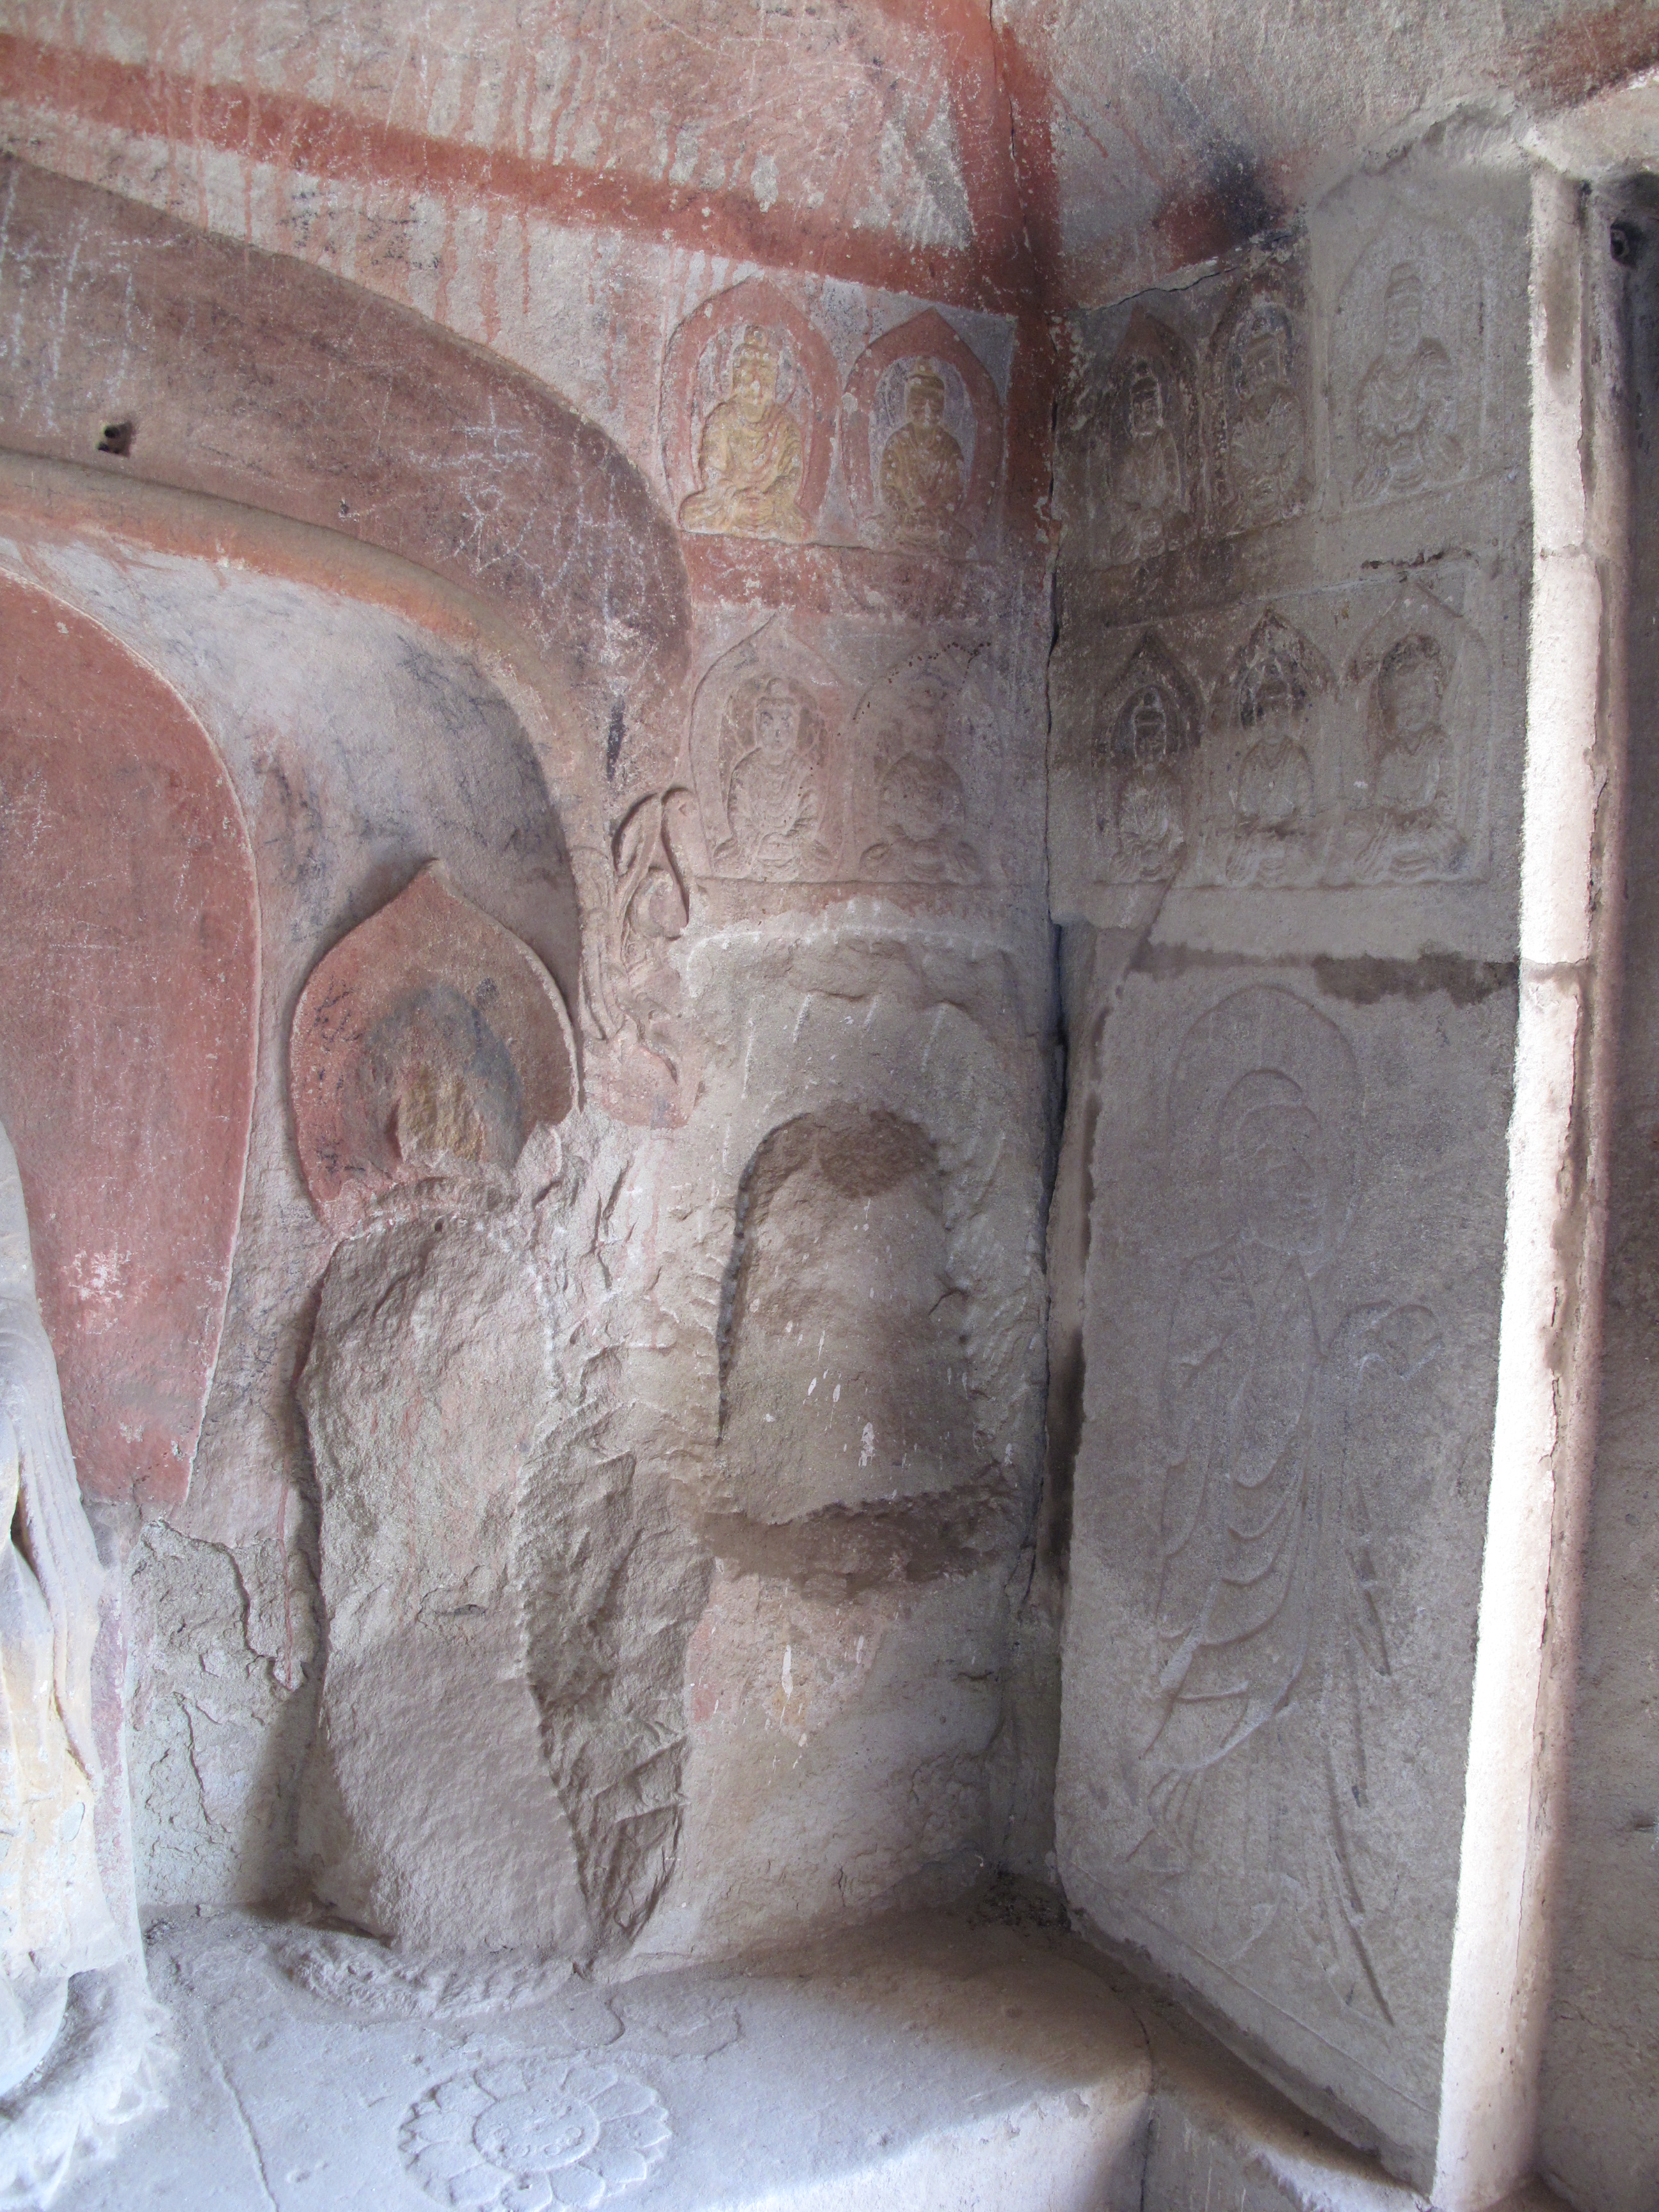
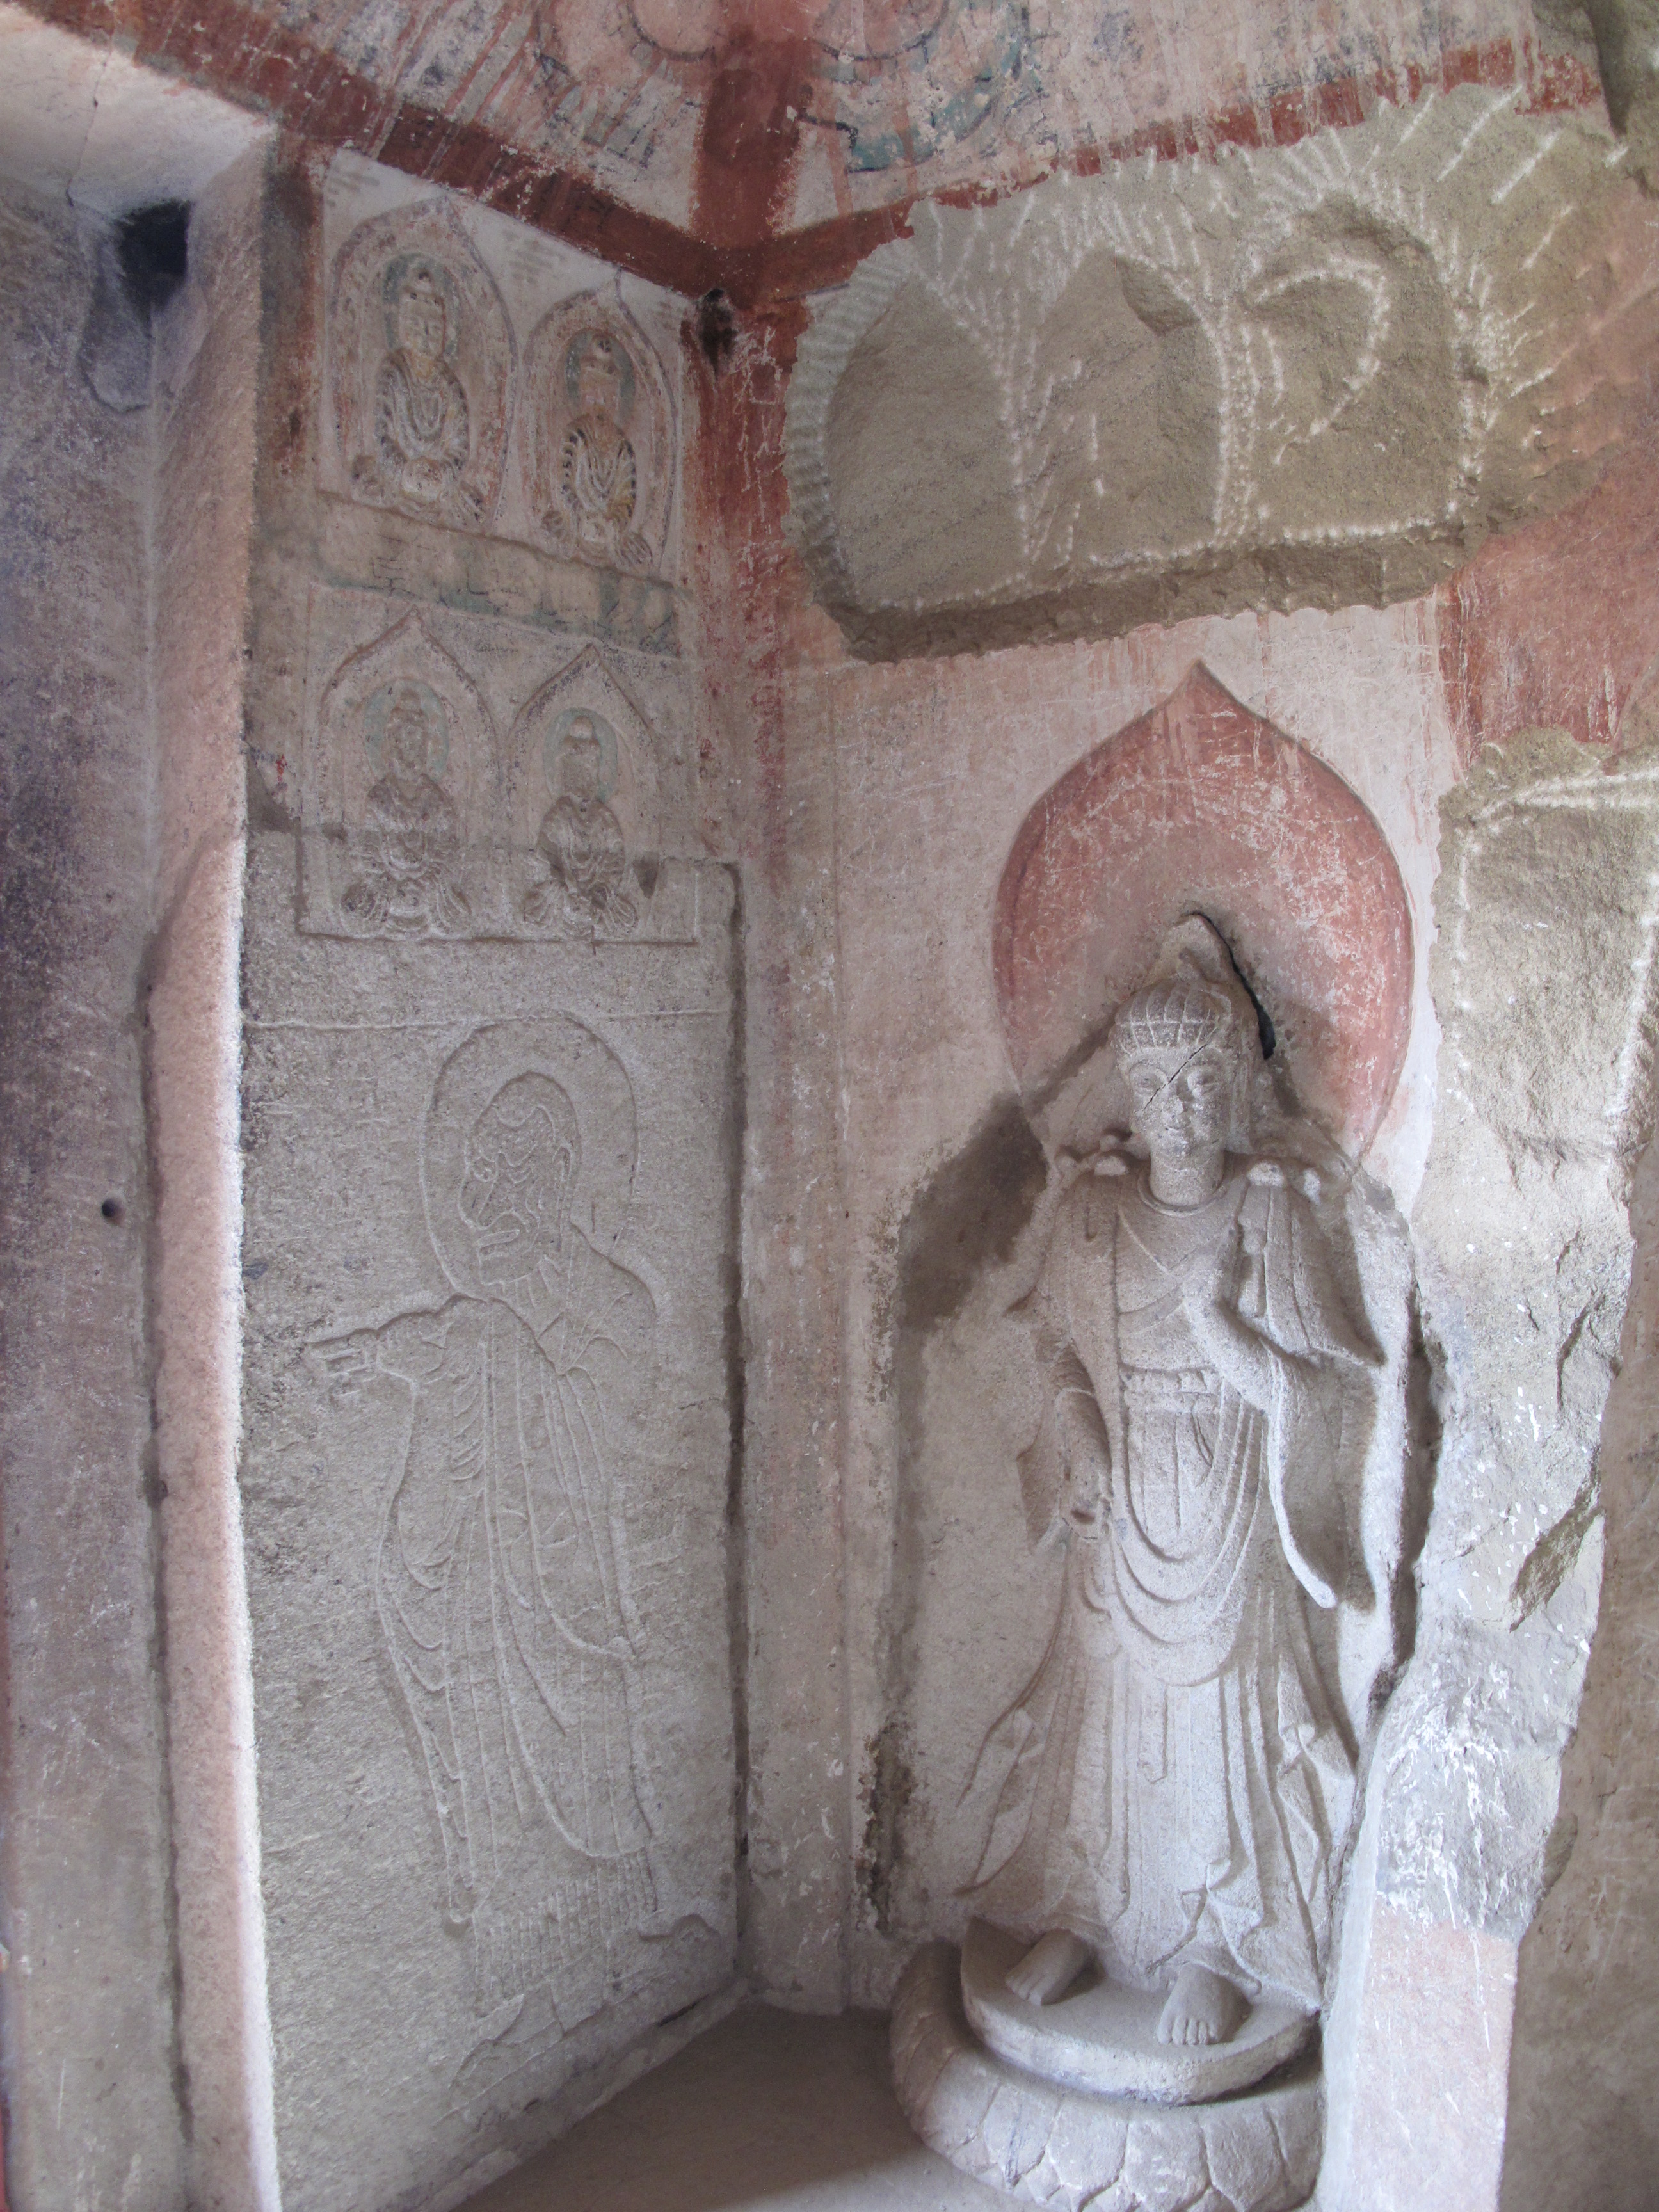
Cave 2 northeast corner
Cave 2 southeast corner showing damage and repairs
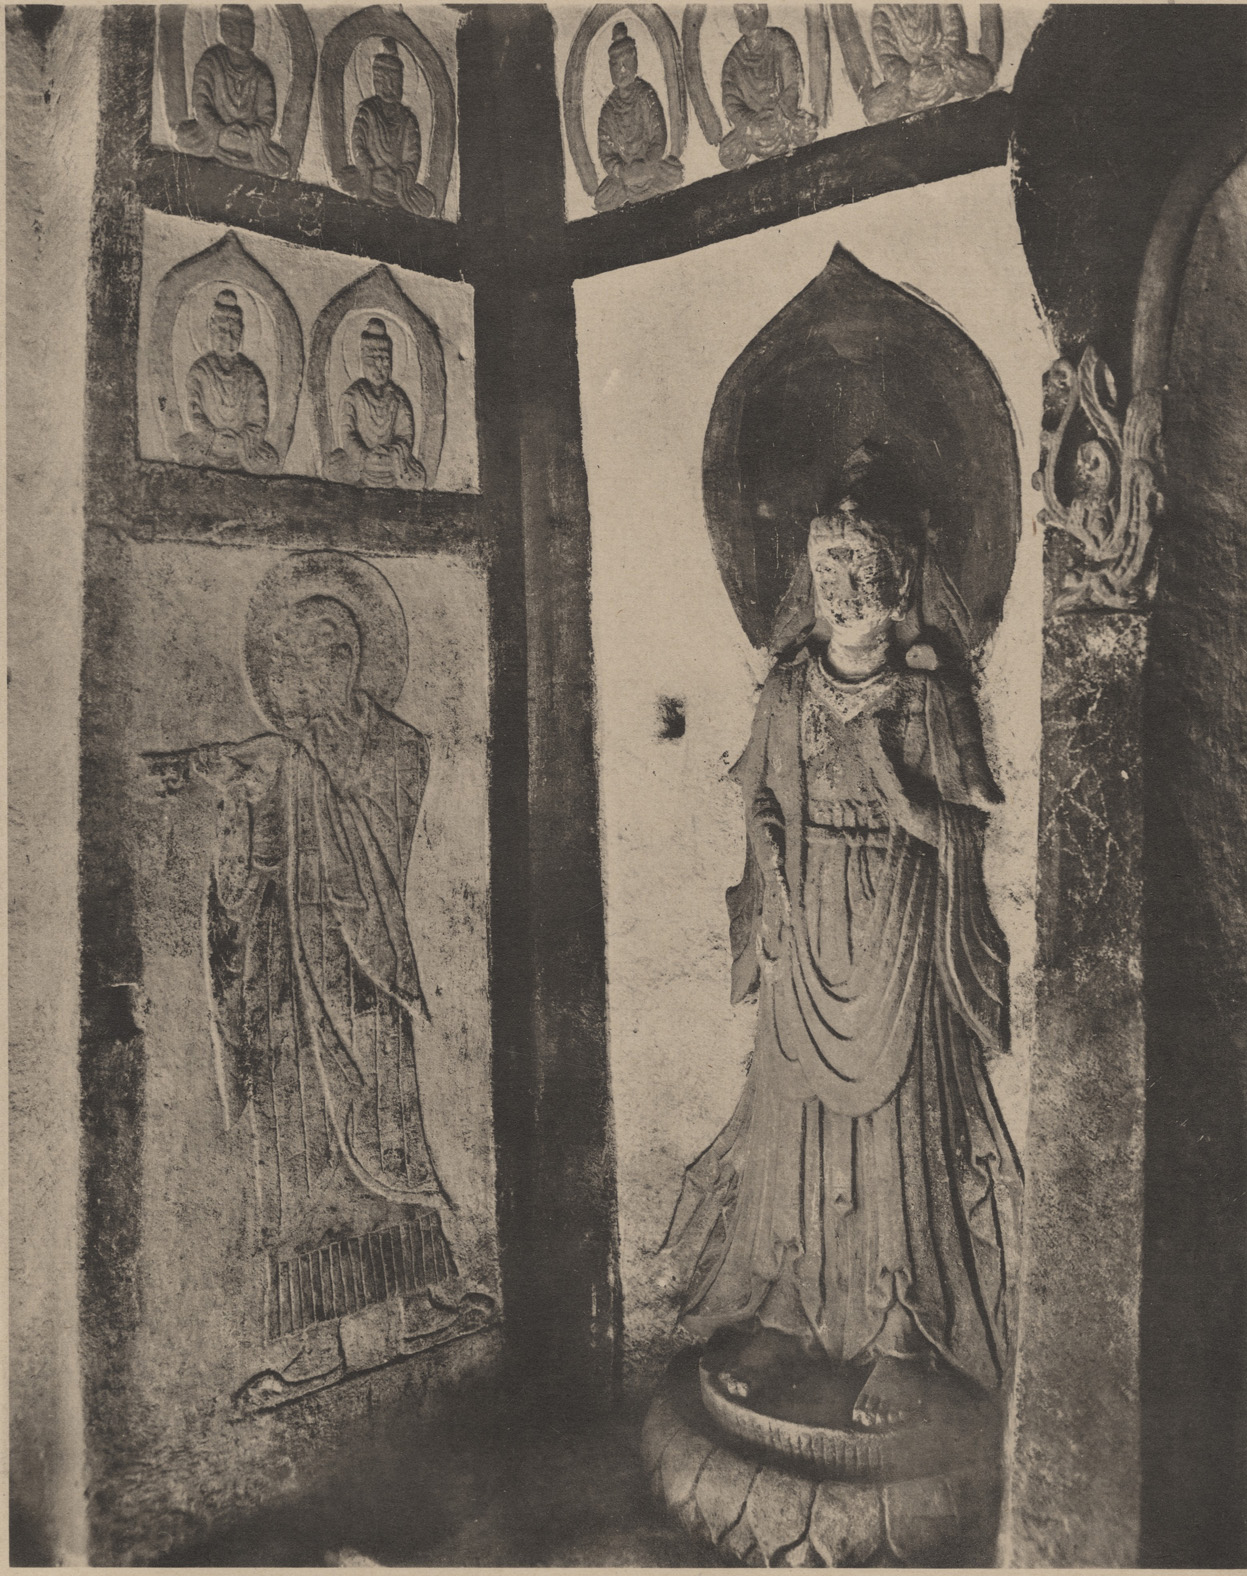
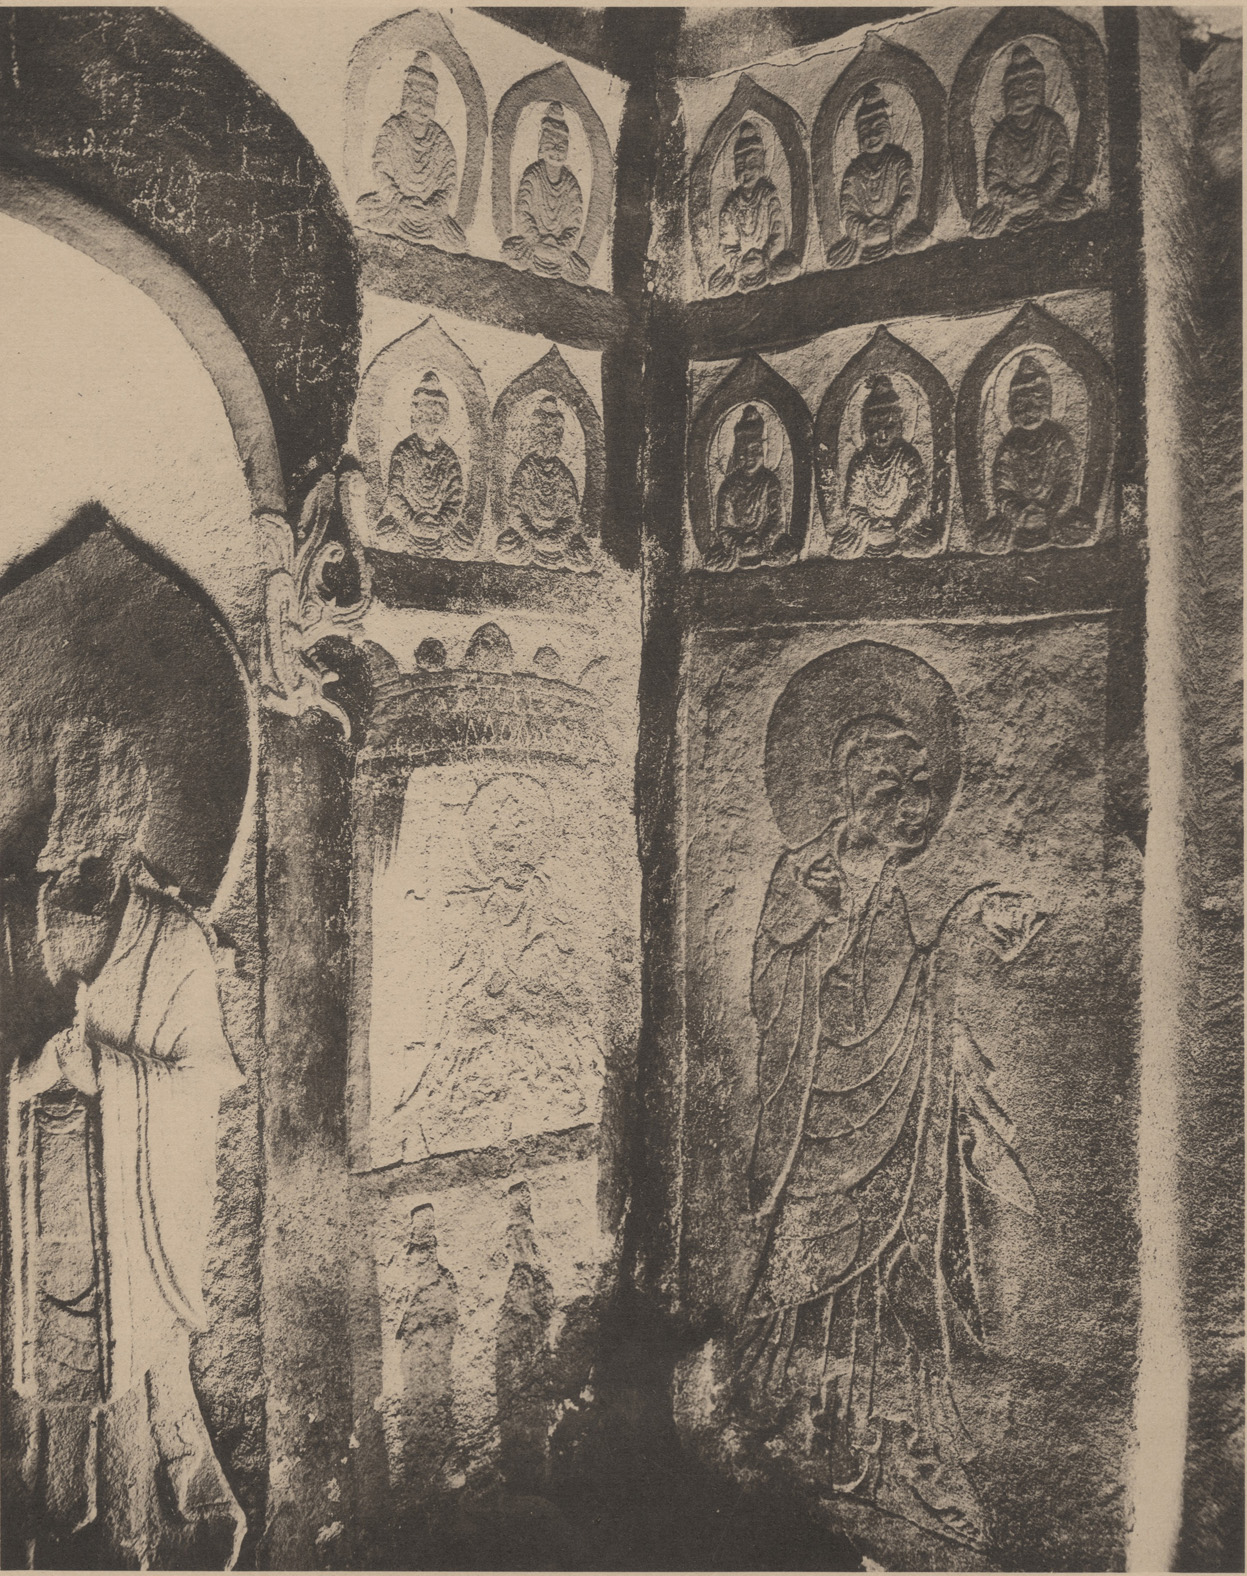
Historical photo, Cave 2 east wall
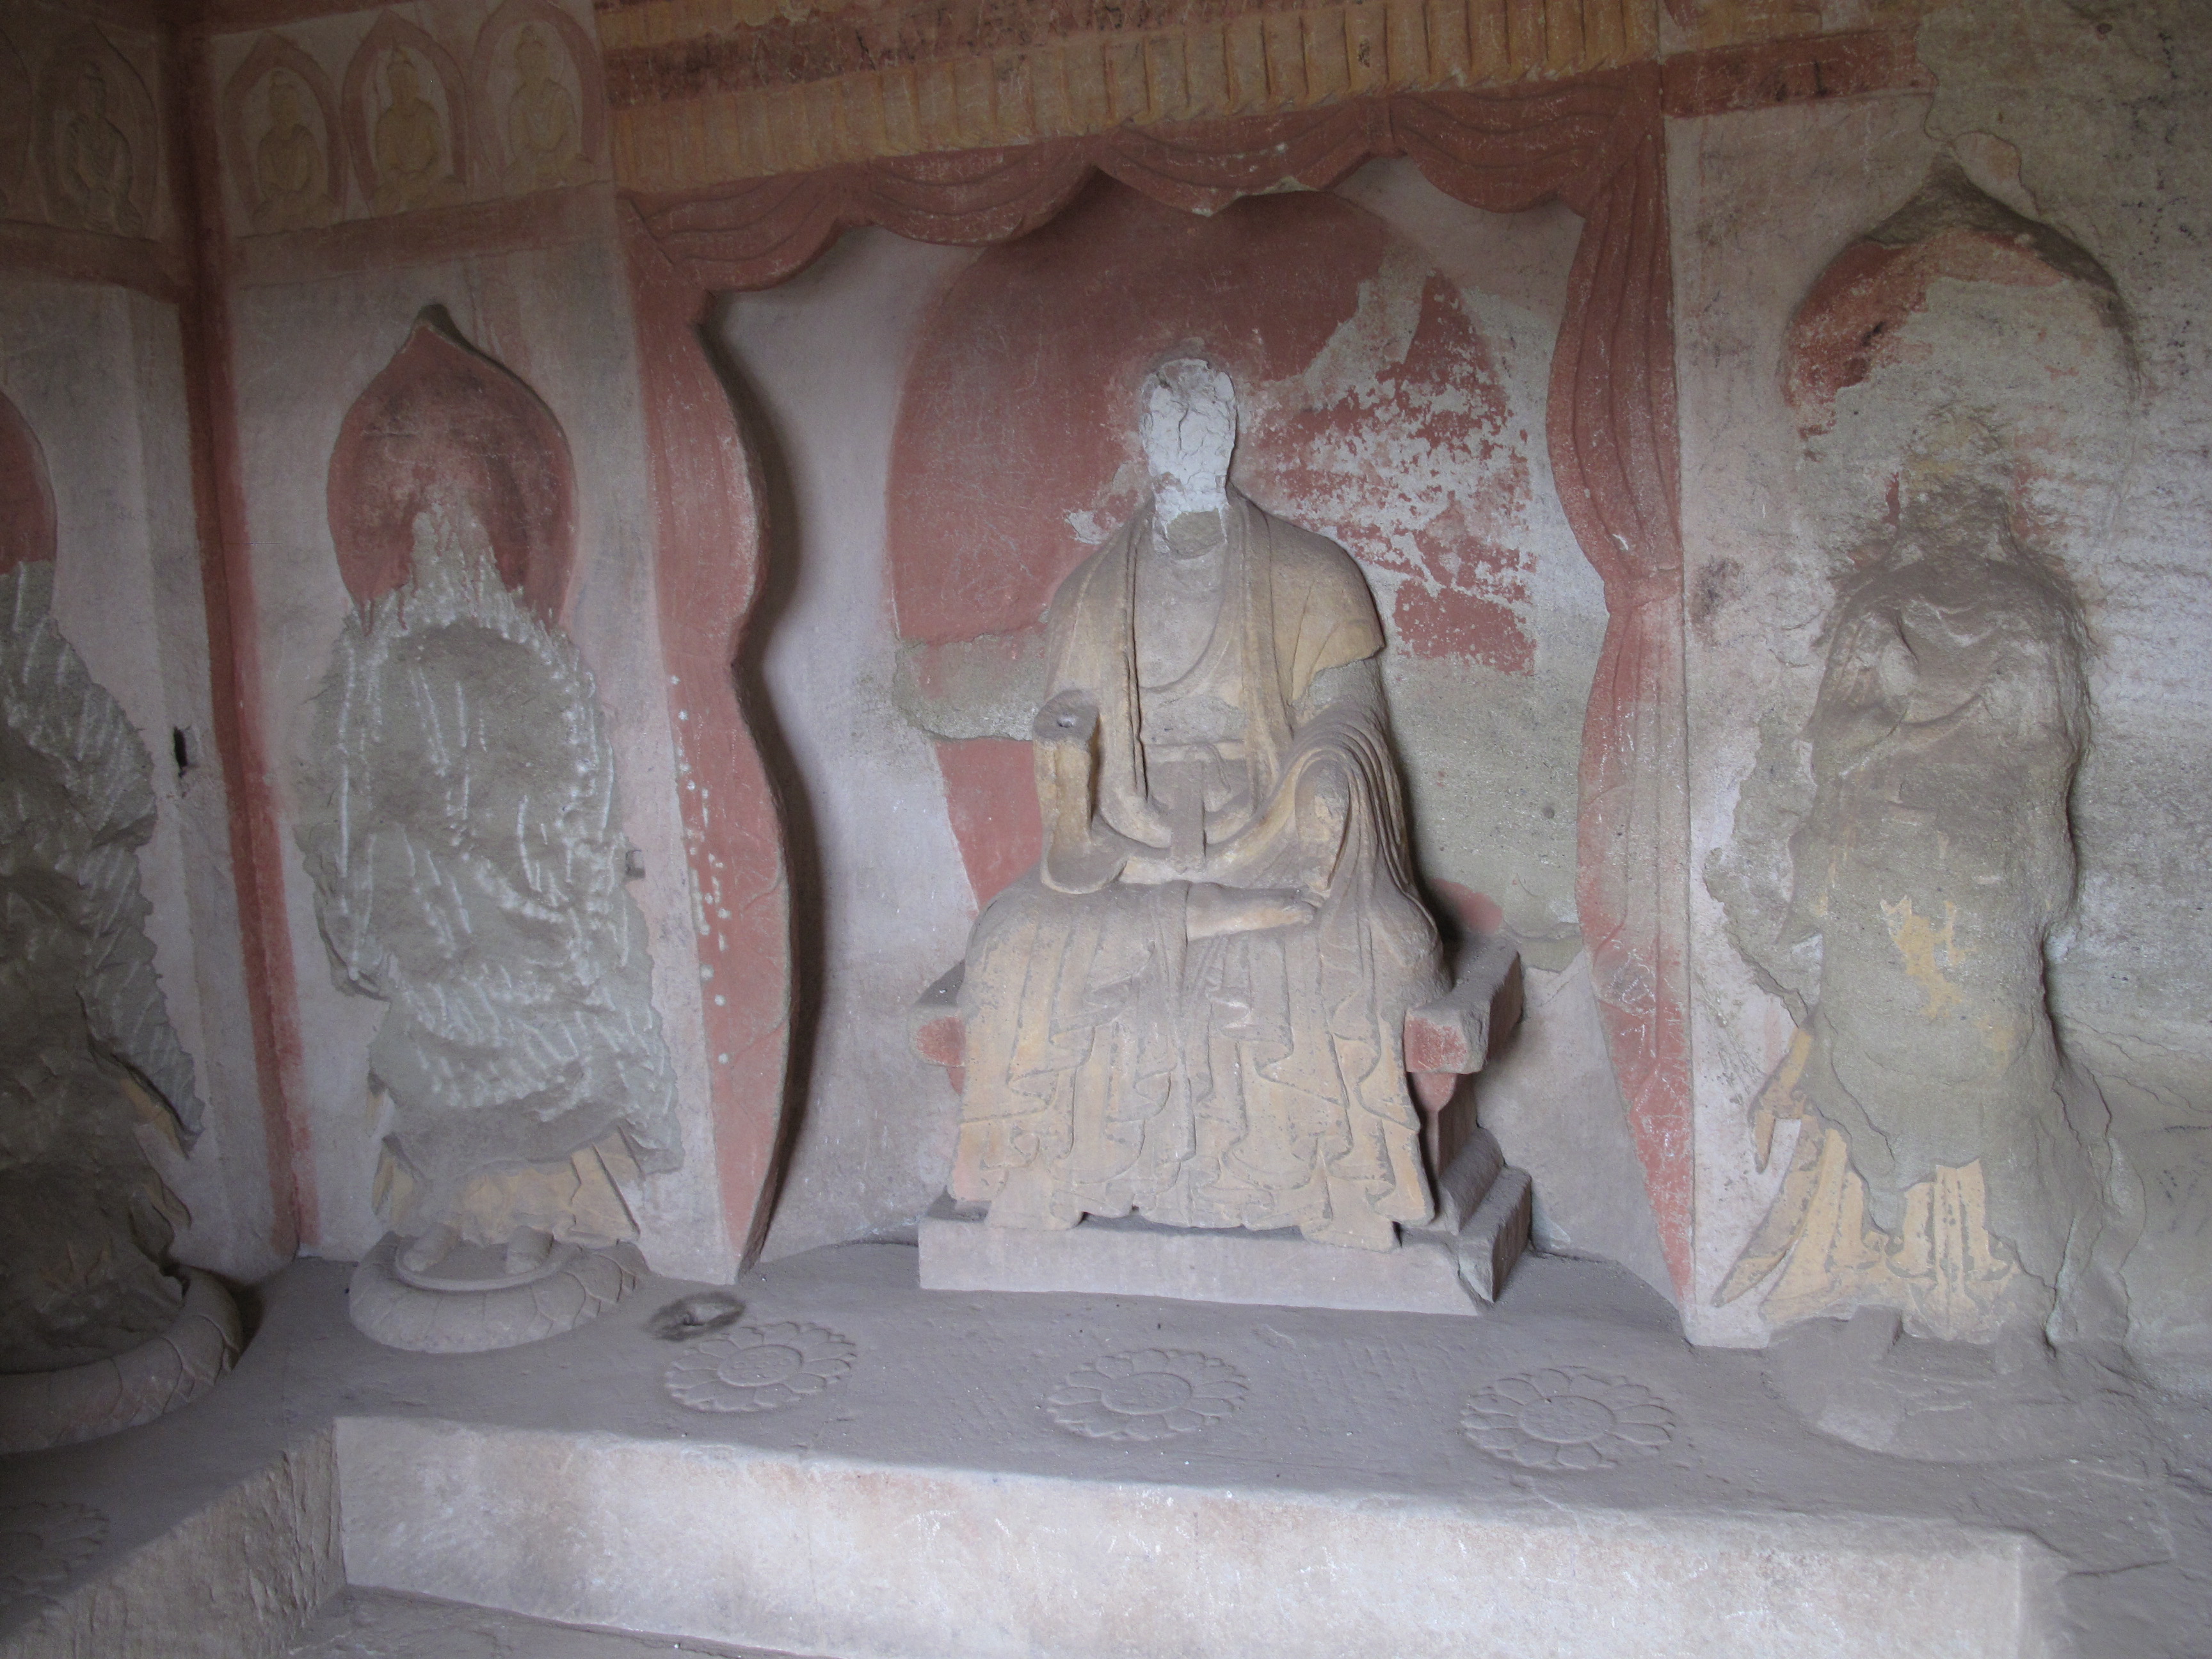
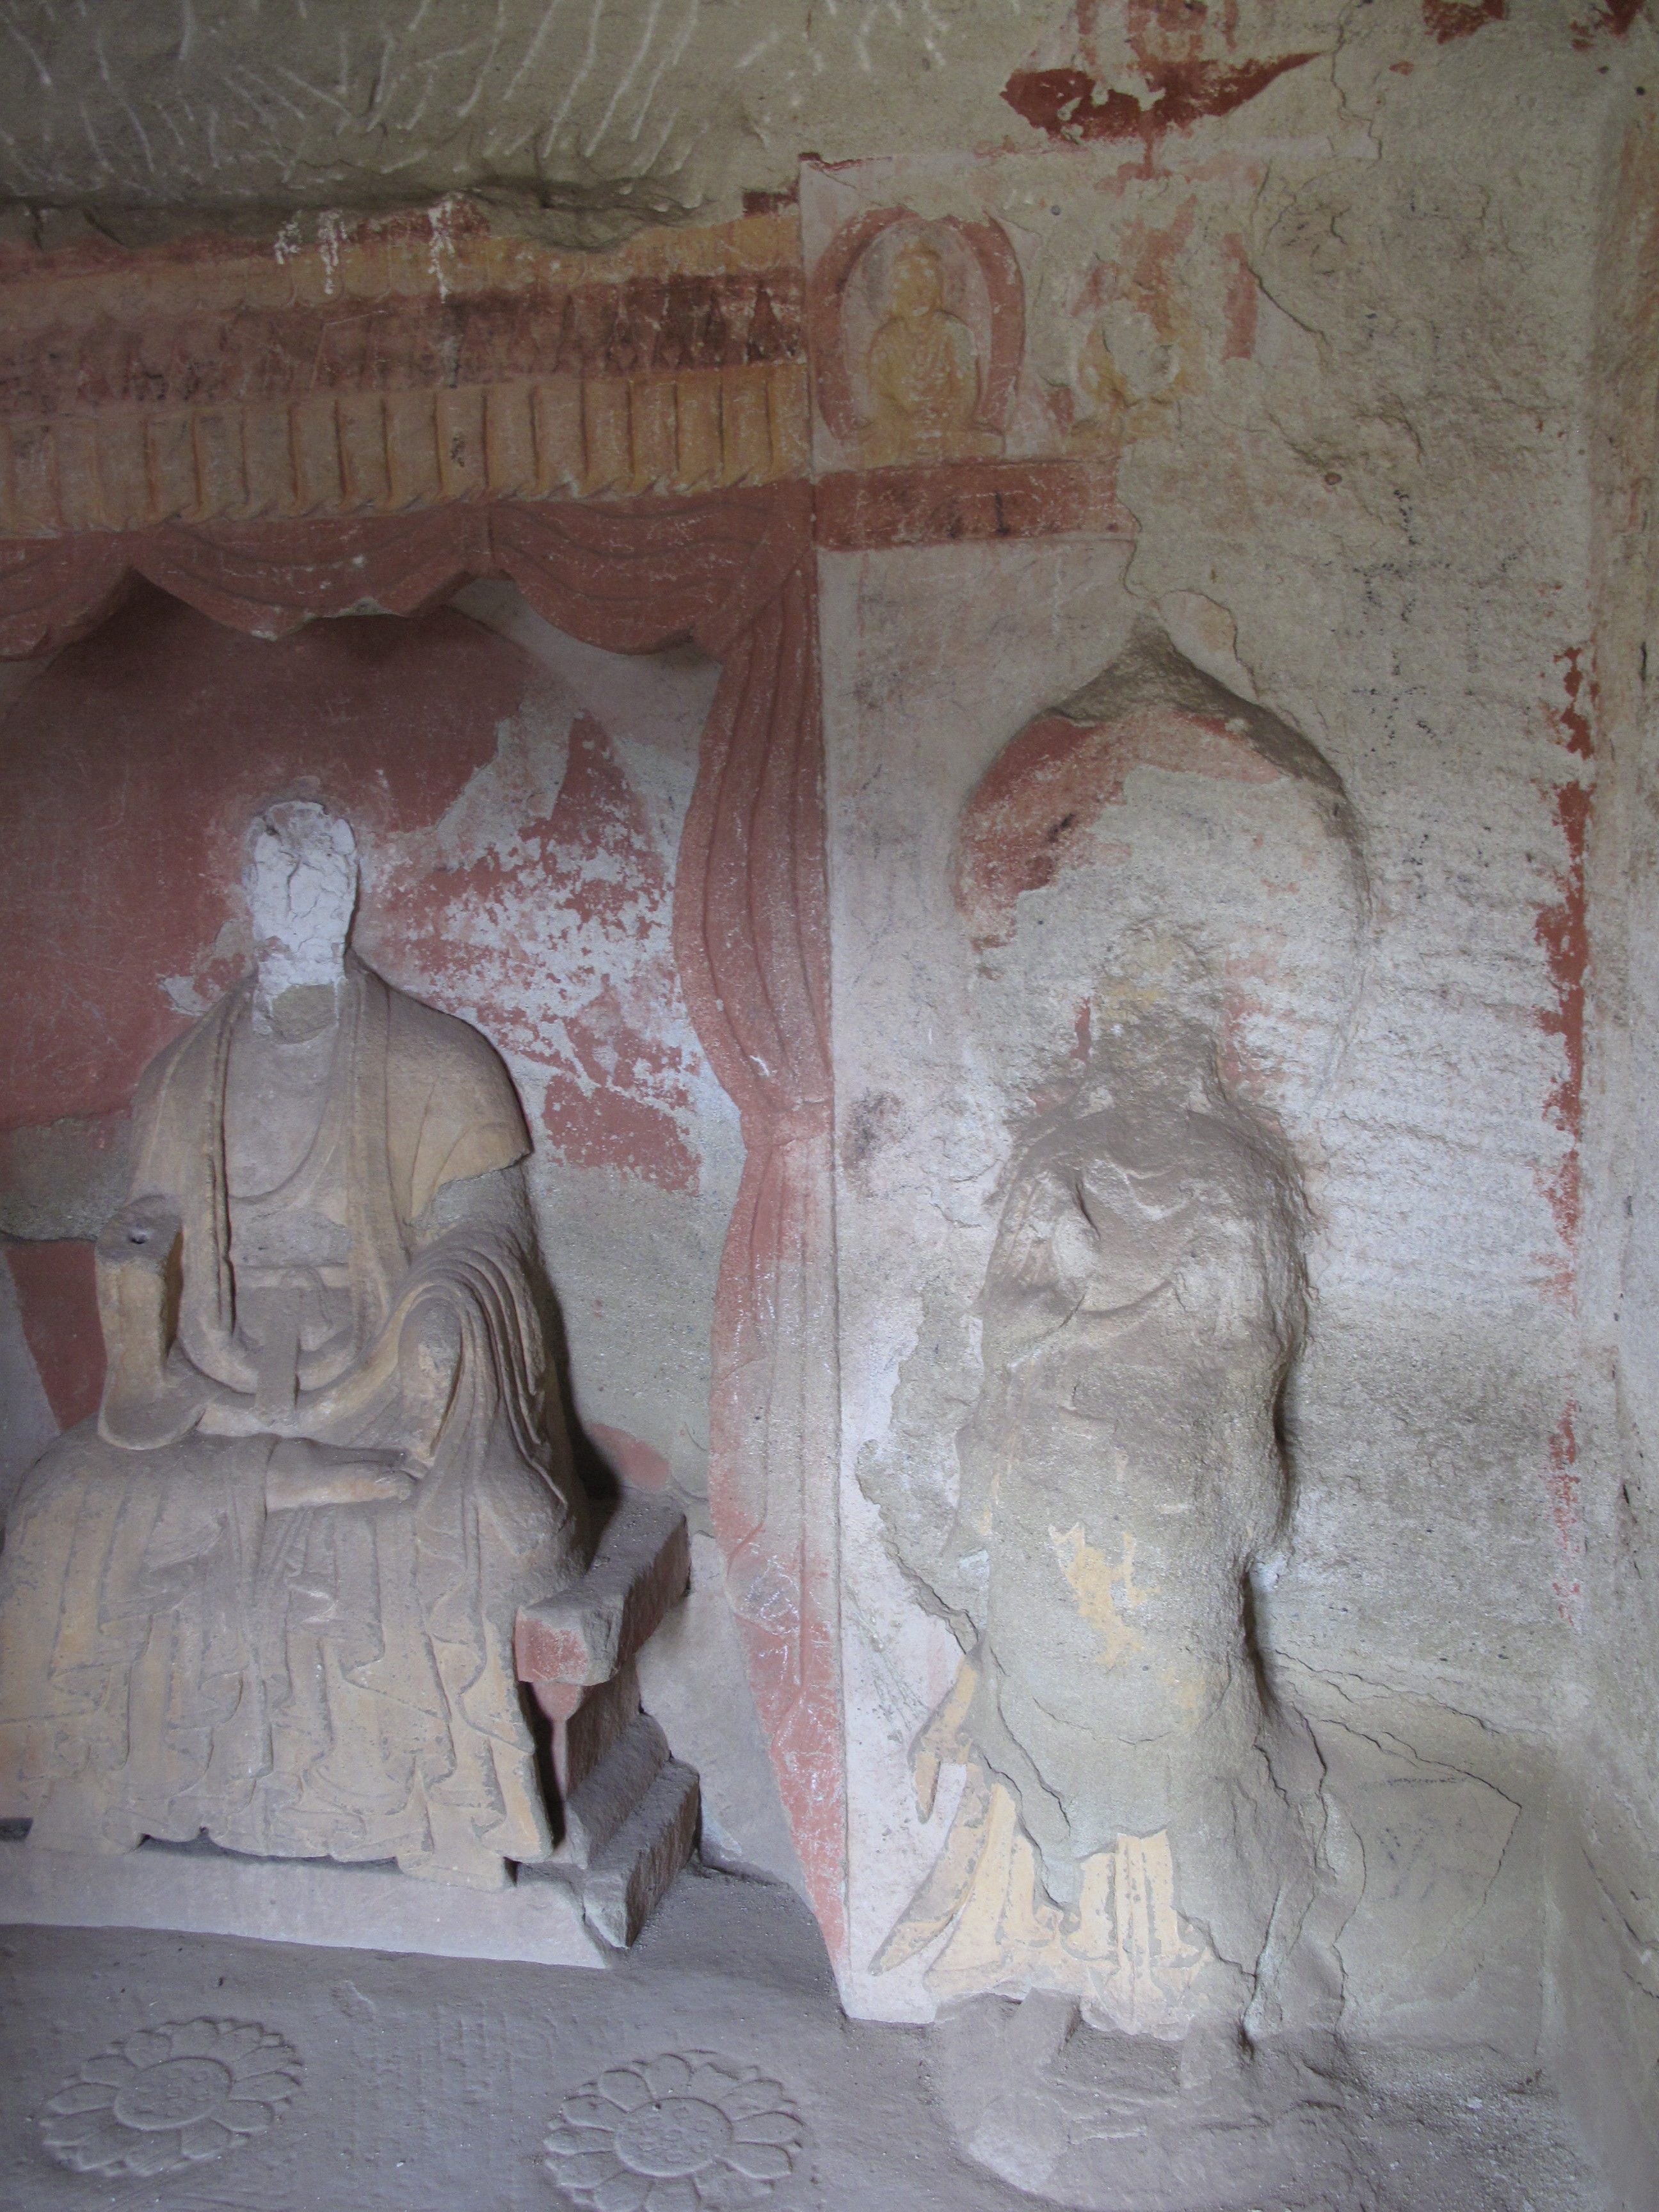
Cave 2 west. The seated Maitreya Buddha in the niche is flanked by two standing bodhisattvas.
Cave 2 northwest corner

Cave 2 southwest corner
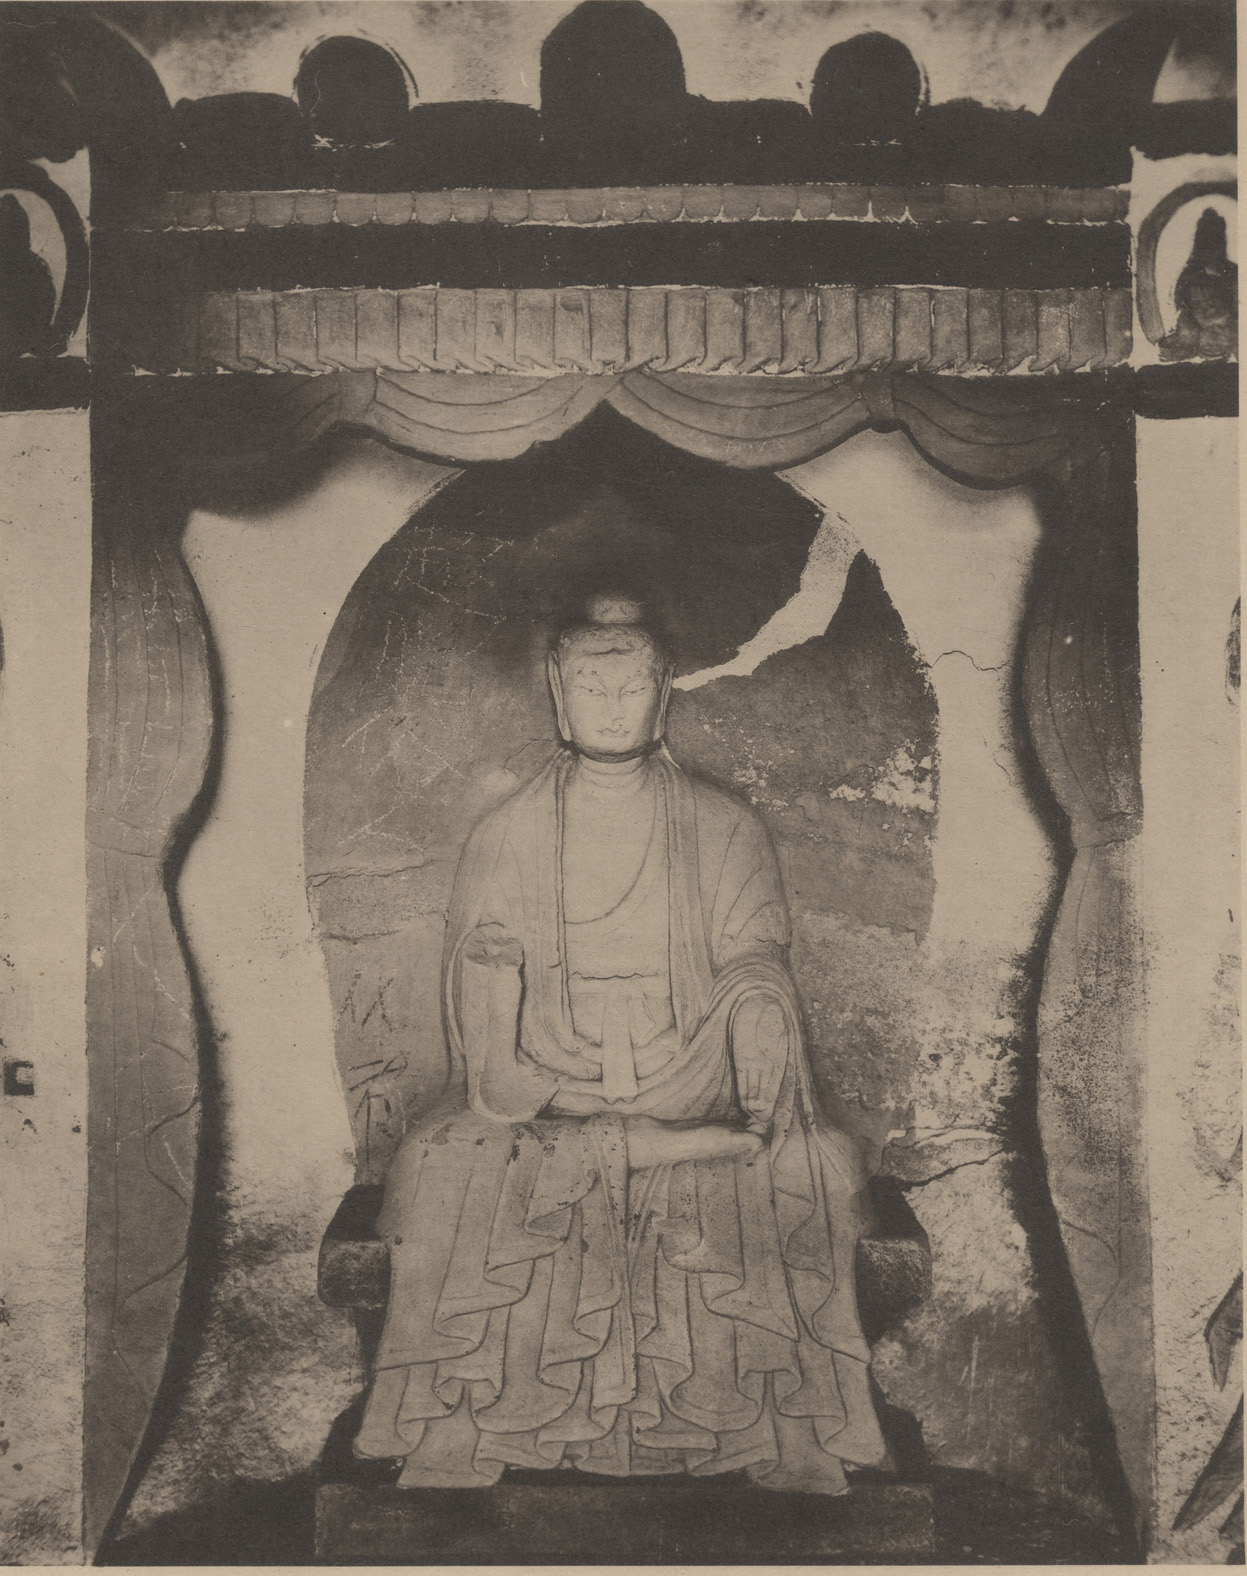
Historical photo, Cave 2 west wall seated Buddha Maitreya.
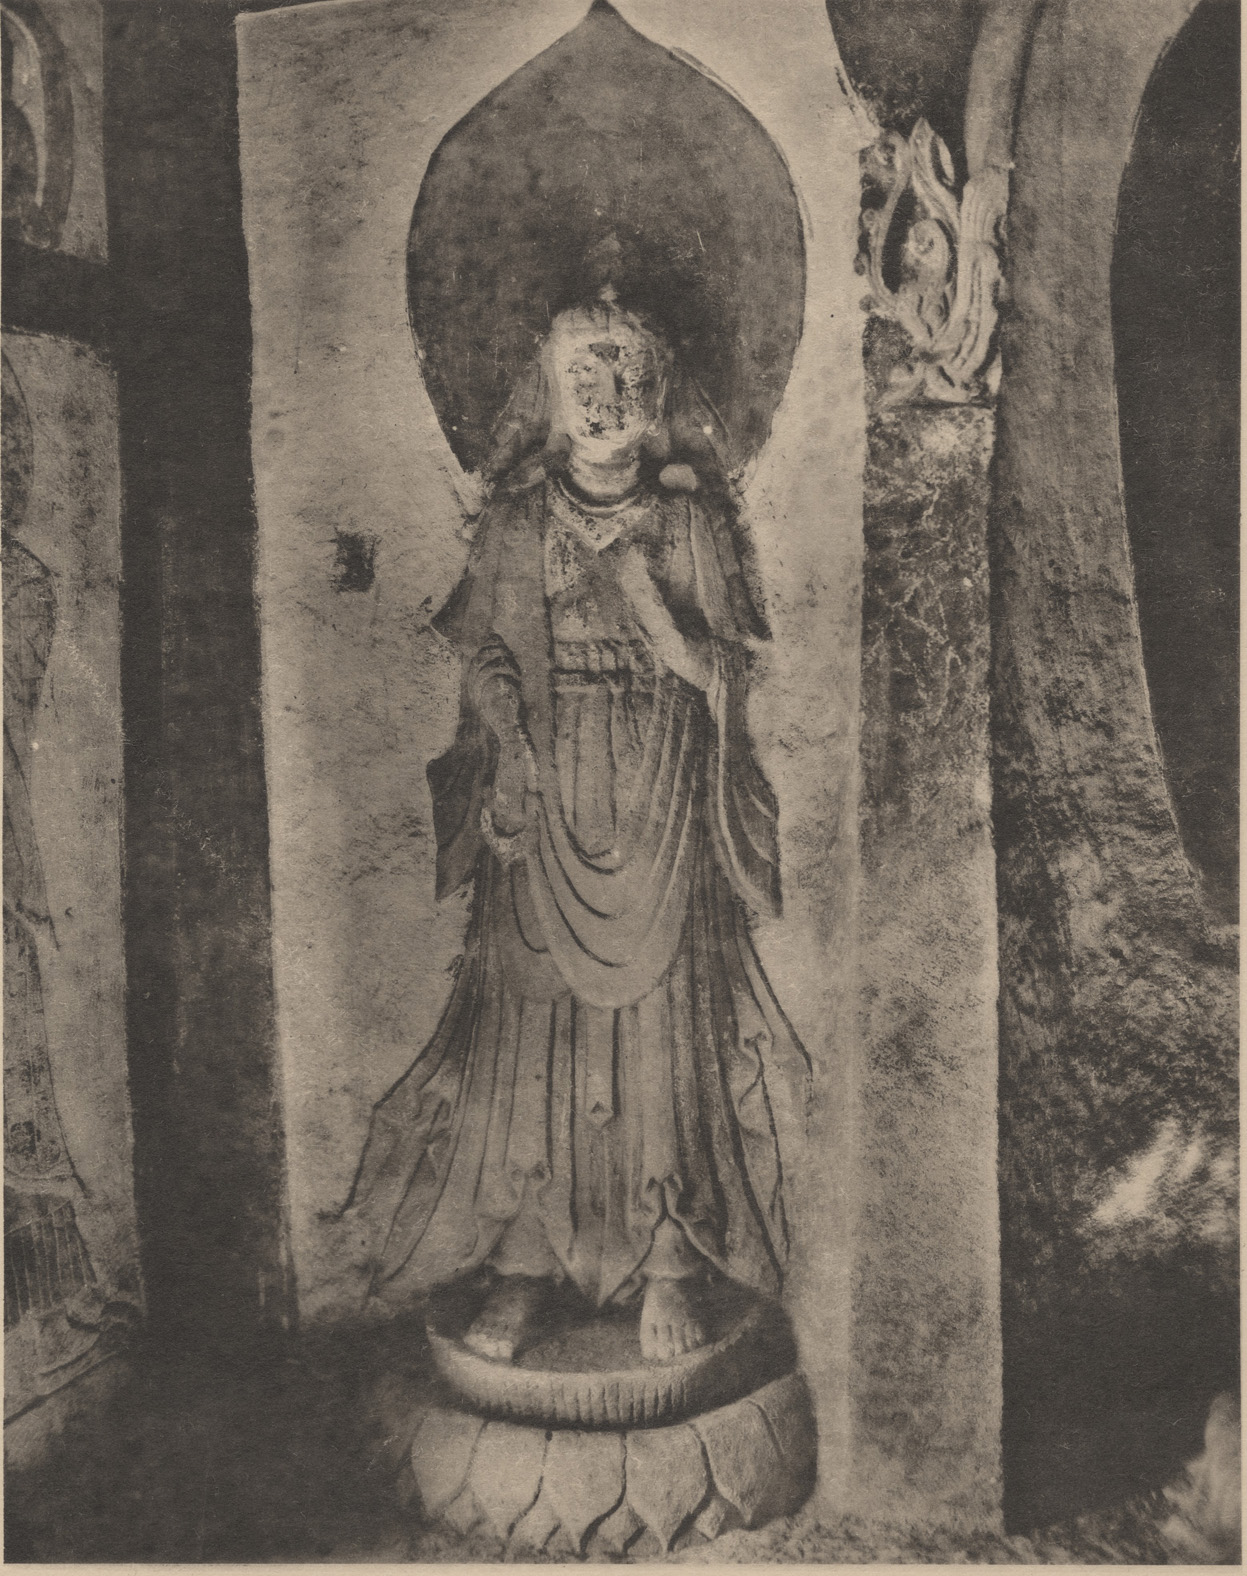
Historical photo, Cave 2 west wall bodhisattva, south side.
Cave 2 southeast corner. The disciple figures originally on the front wall have been remade.
Historical photo, Cave 2 southwest corner
Historical photo, Cave 2 southeast corner
Cave 2 ceiling center, with south side at the bottom.
Cave 2 ceiling east and north side
Historical photo, Cave 2 ceiling south
Historical photo, Cave 2 ceiling east
Historical photo, Cave 2 ceiling west